Happy Thai Pongal! இனிய தைப்பொங்கல் நல்வாழ்த்துகள்!
Tomorrow is Pongal for Tamils around the world. Pongal is a celebration that occurs annually on the first day of the month of ‘Thai’ (Tamil month equivalent to January) and is a harvest festival, traditionally meant to honour the sun. It is also the name of the key rice dish that is made to celebrate most Tamil festivals, but particularly its namesake festival.
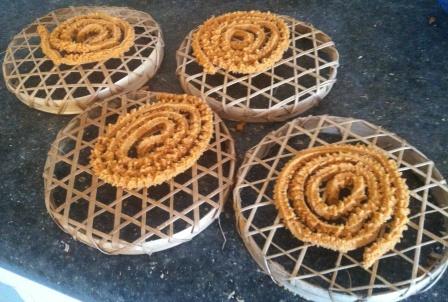
I shared a simple recipe of the home-cooking version of Pongal in this post last August. Today, I also wanted to share some of the photos from one of our Pongal celebrations with the families in our apartment building a couple of years back as it is more of a community festival where people get together in the temple or courtyard, or as in this case – the car parking area. I was going to post this tomorrow on the festival day but as one of my friends has sent me a recipe of one of the snacks she makes for Pongal, I decided to post her recipe tomorrow. So, here’s the photo-story of Pongal making.

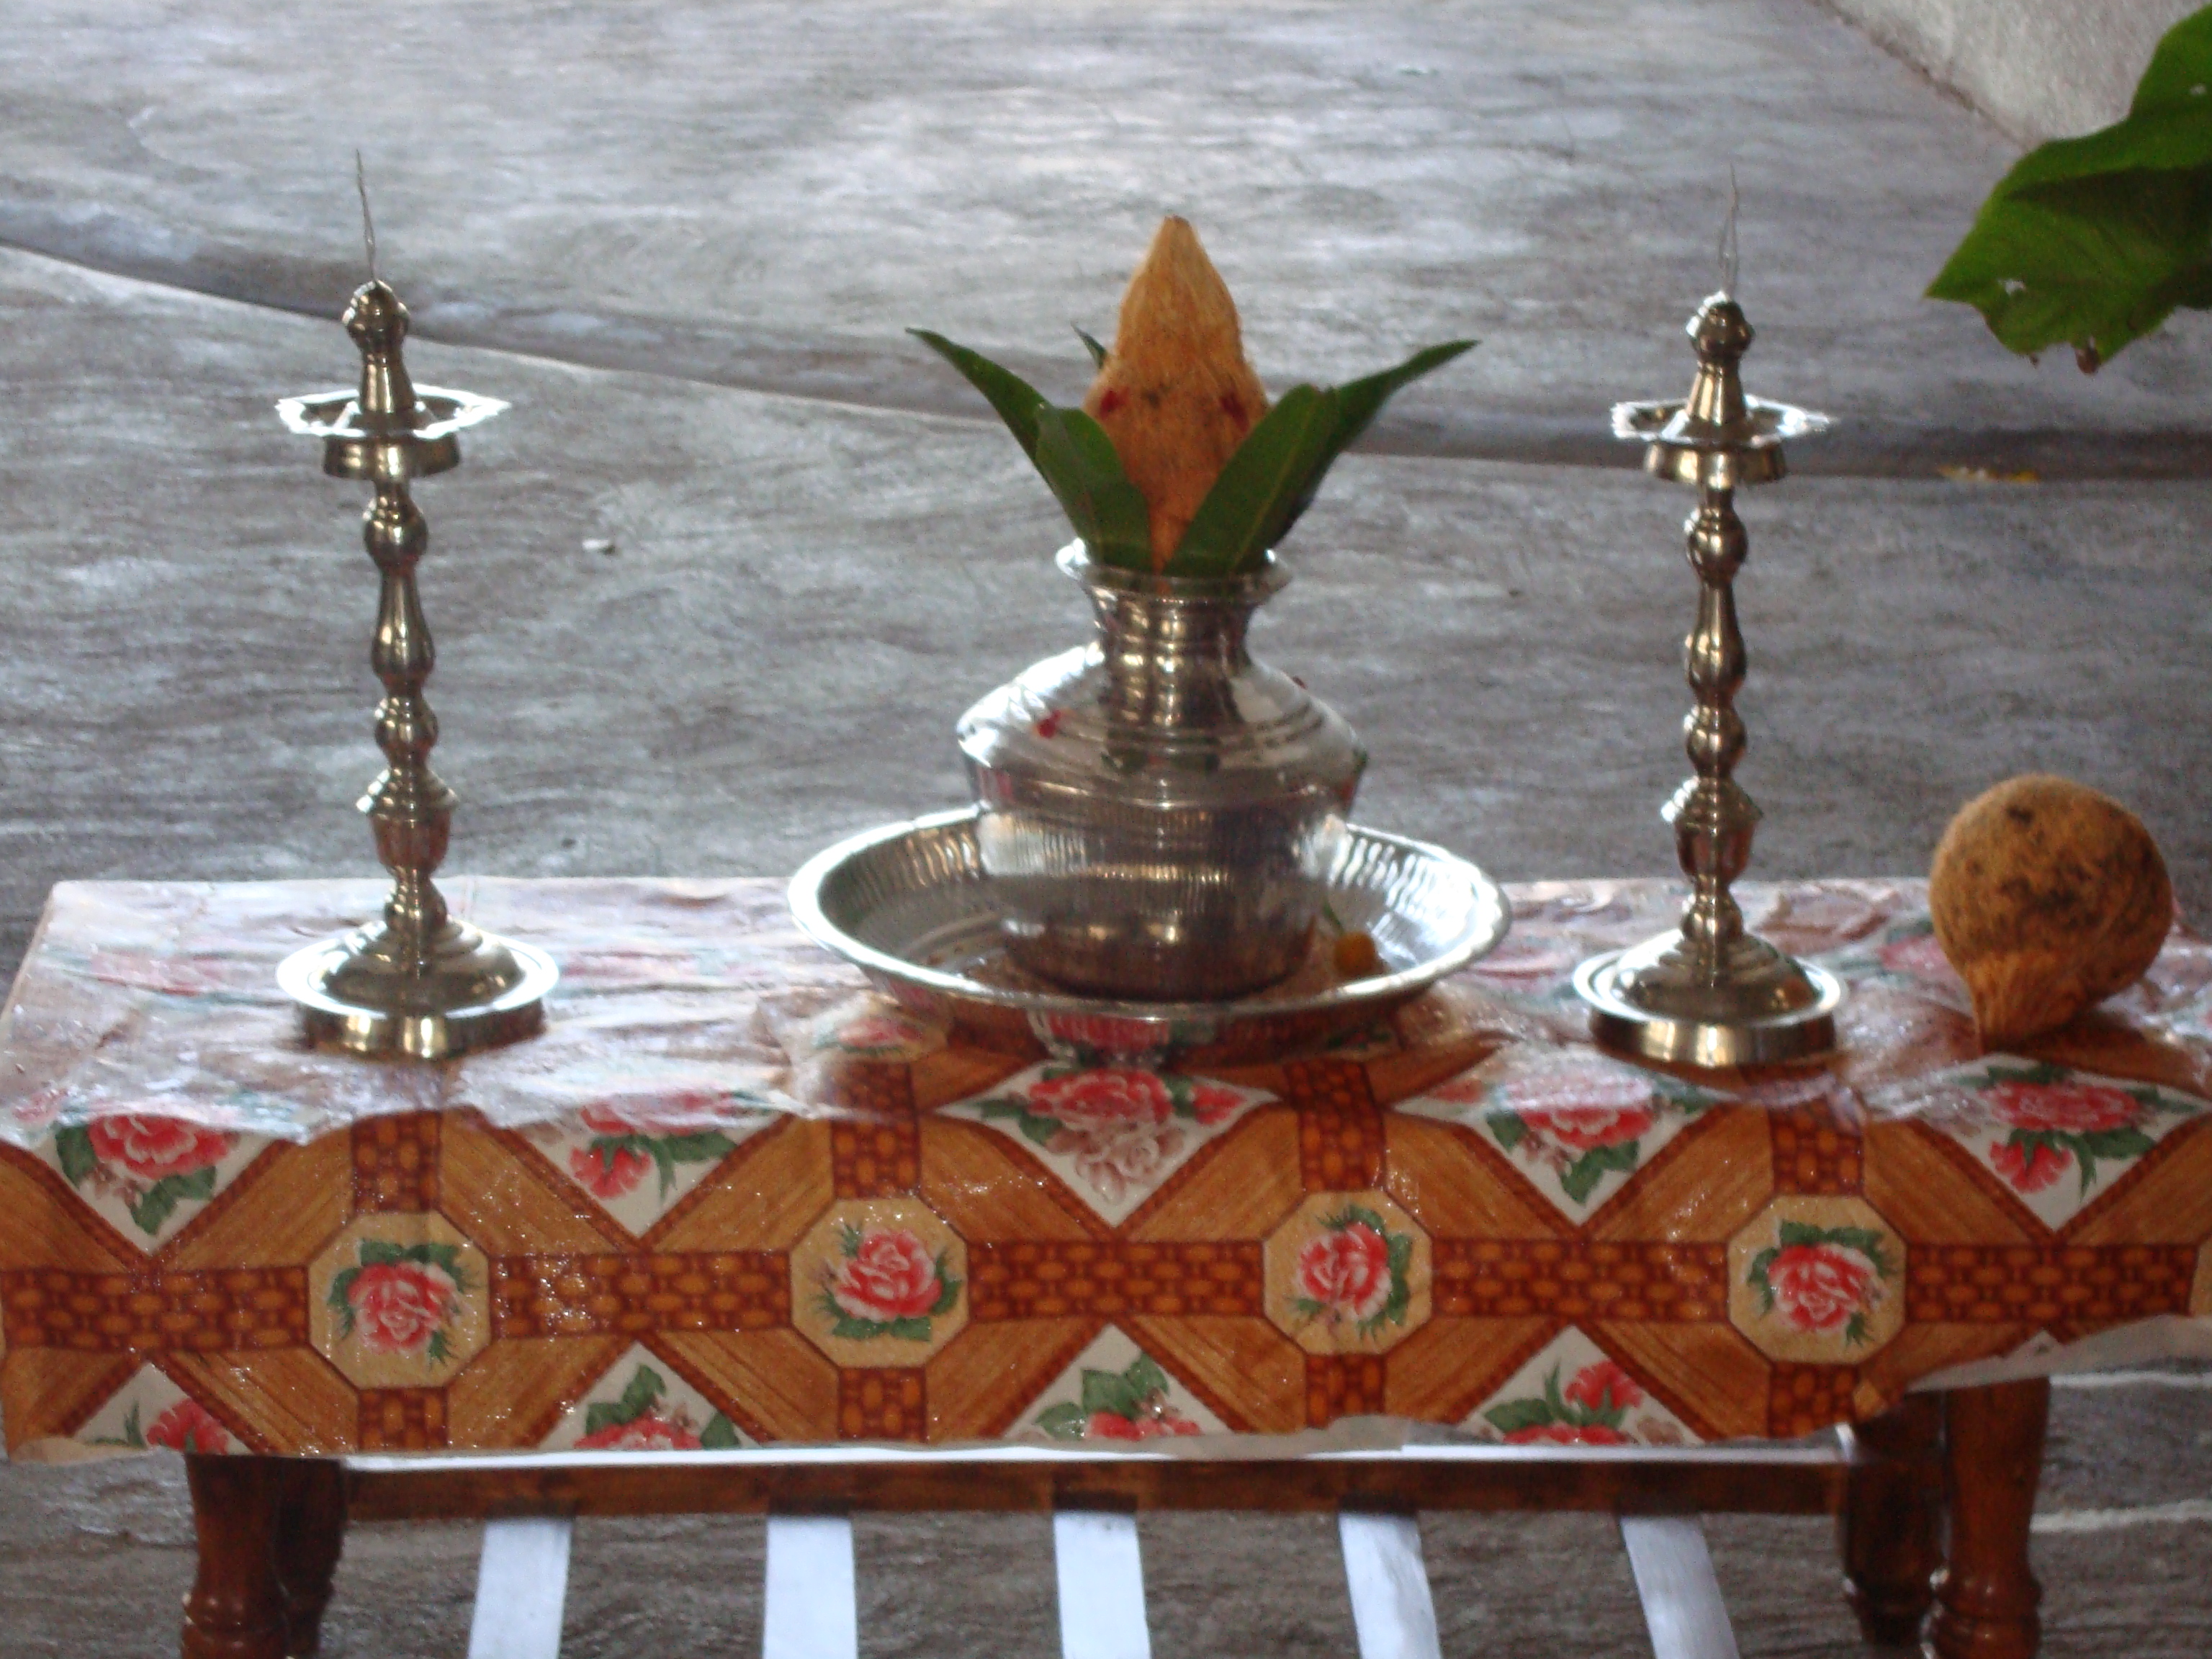
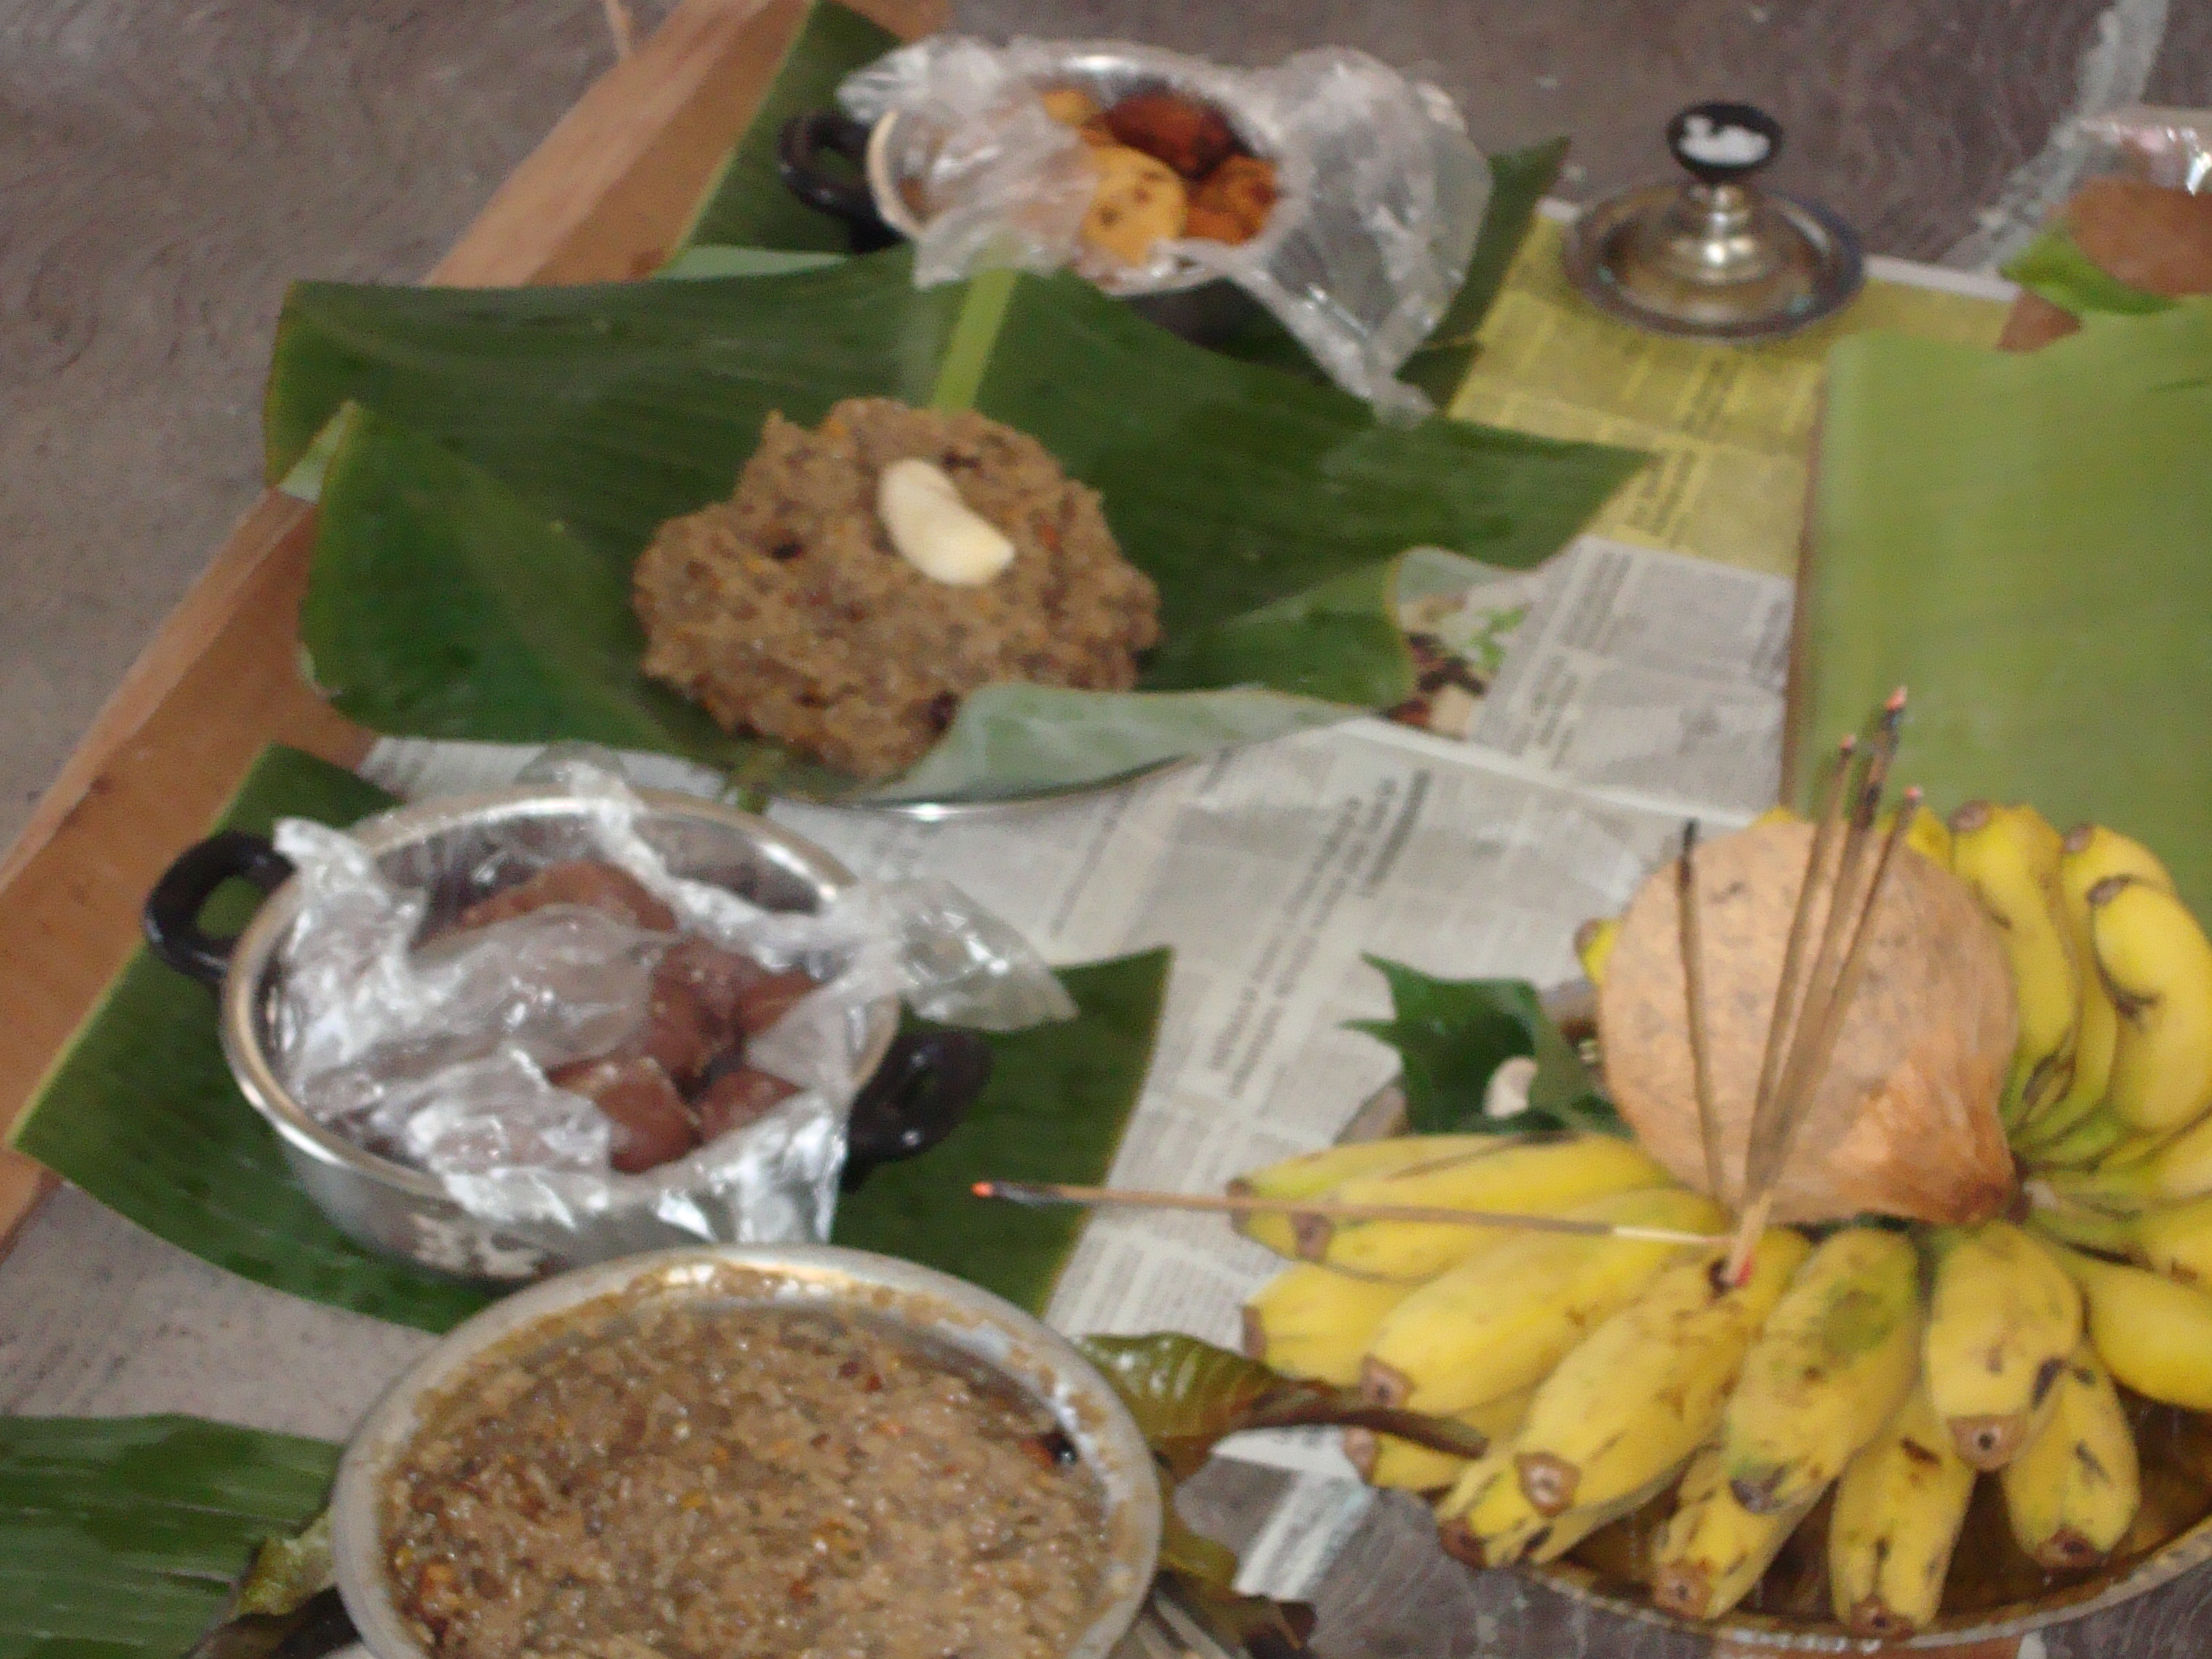
The kolam (designs made of rice flour paste) is first drawn. Within its boundaries, the traditional Tamil welcome is set up facing north, with the kuthuvillaku/lamps and the coconut with mango leaves placed in the kudam/pot

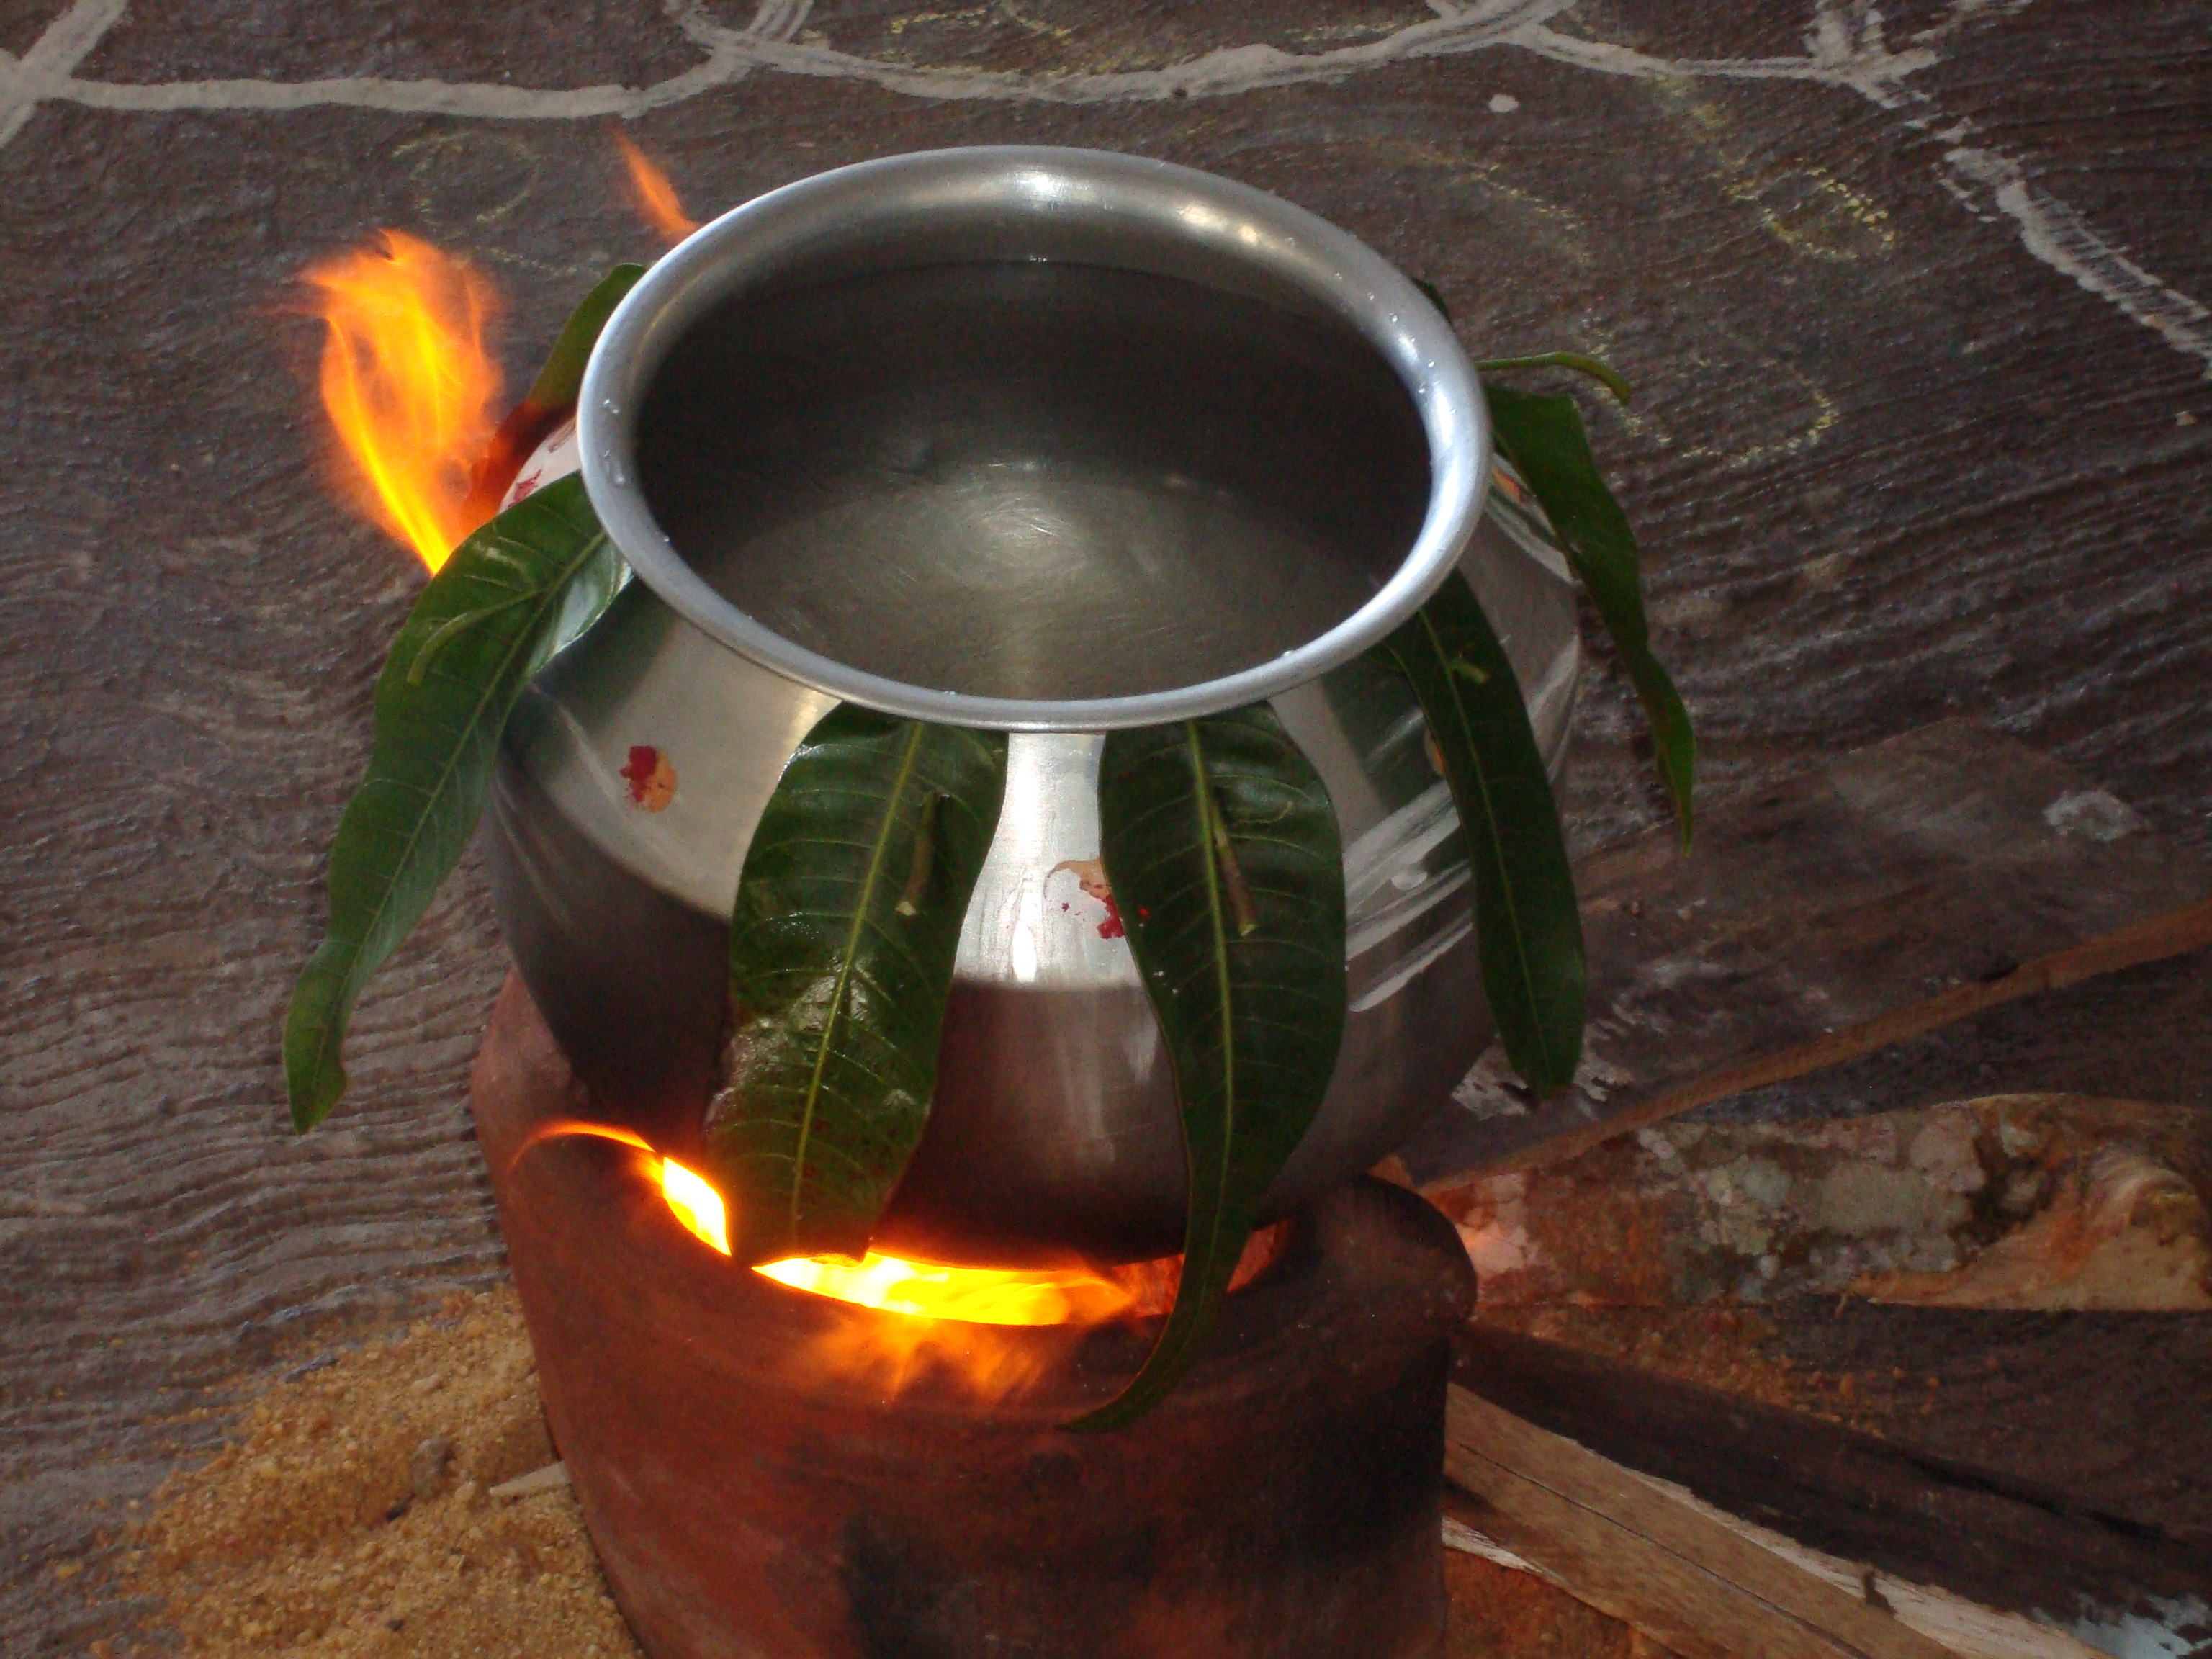
Setting up the Pongal pot facing the rising sun in the east

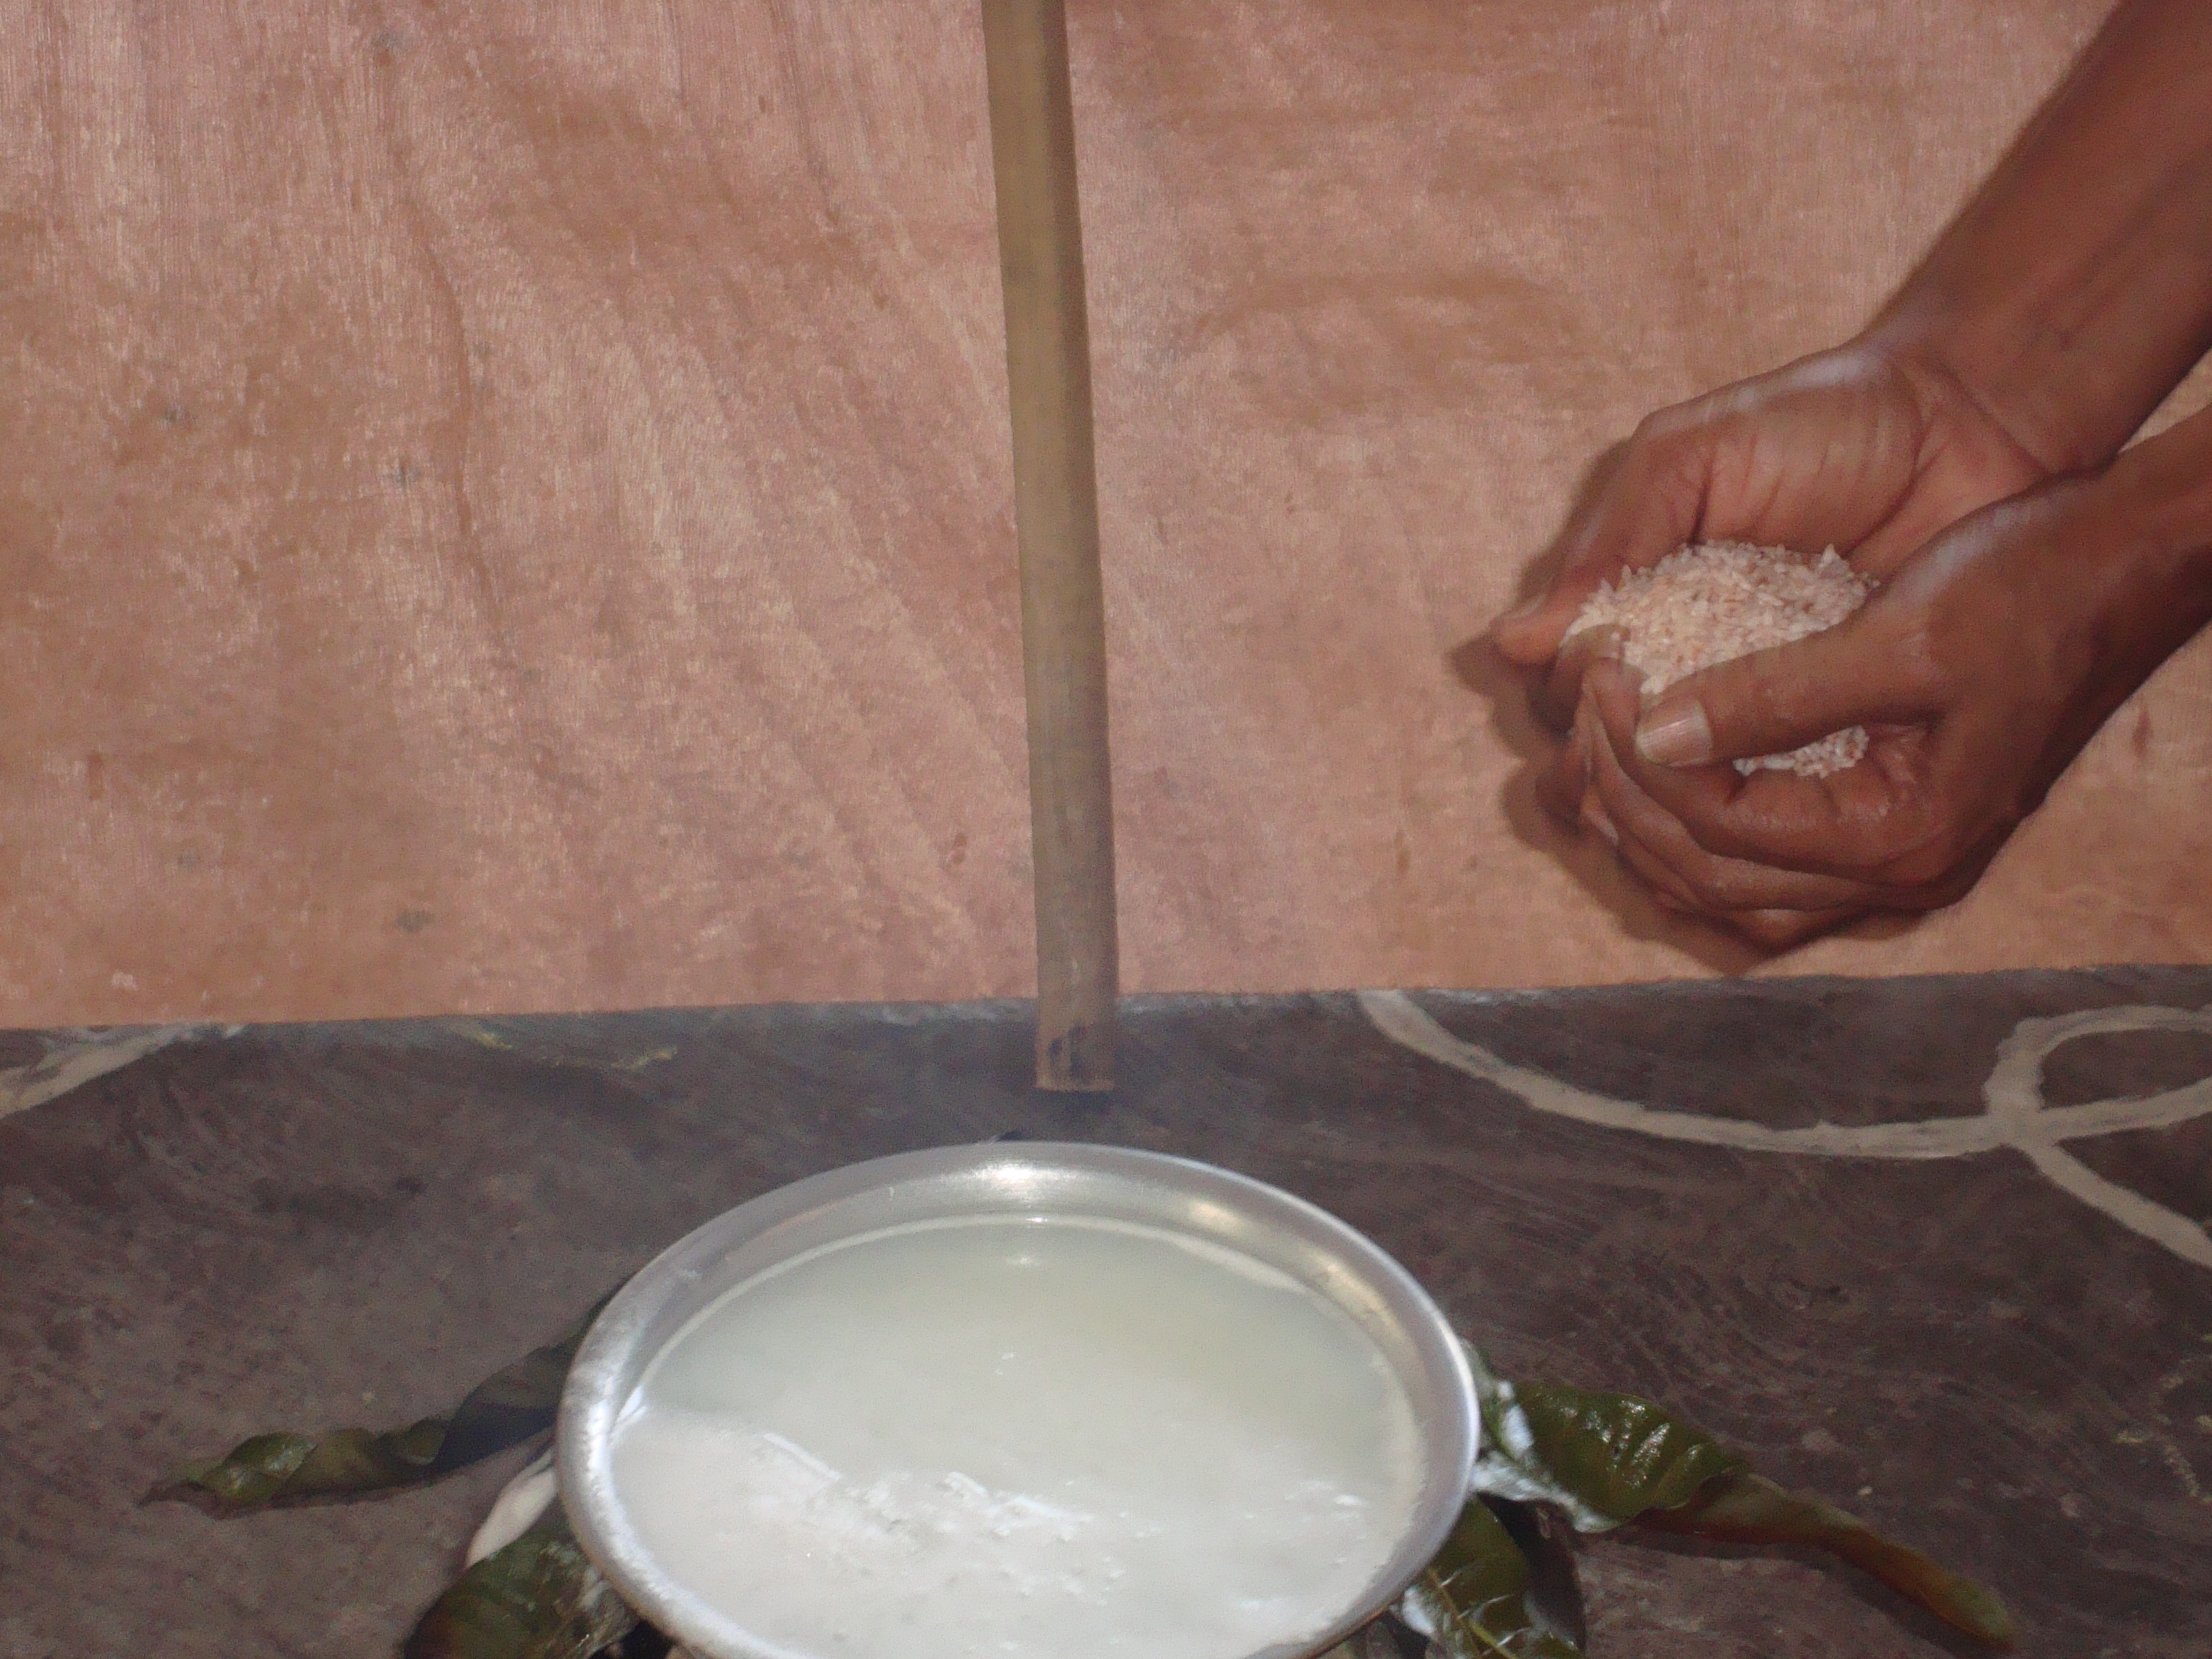
Milk (usually dairy milk but at home, my mother uses coconut milk) is added to the water in the pot

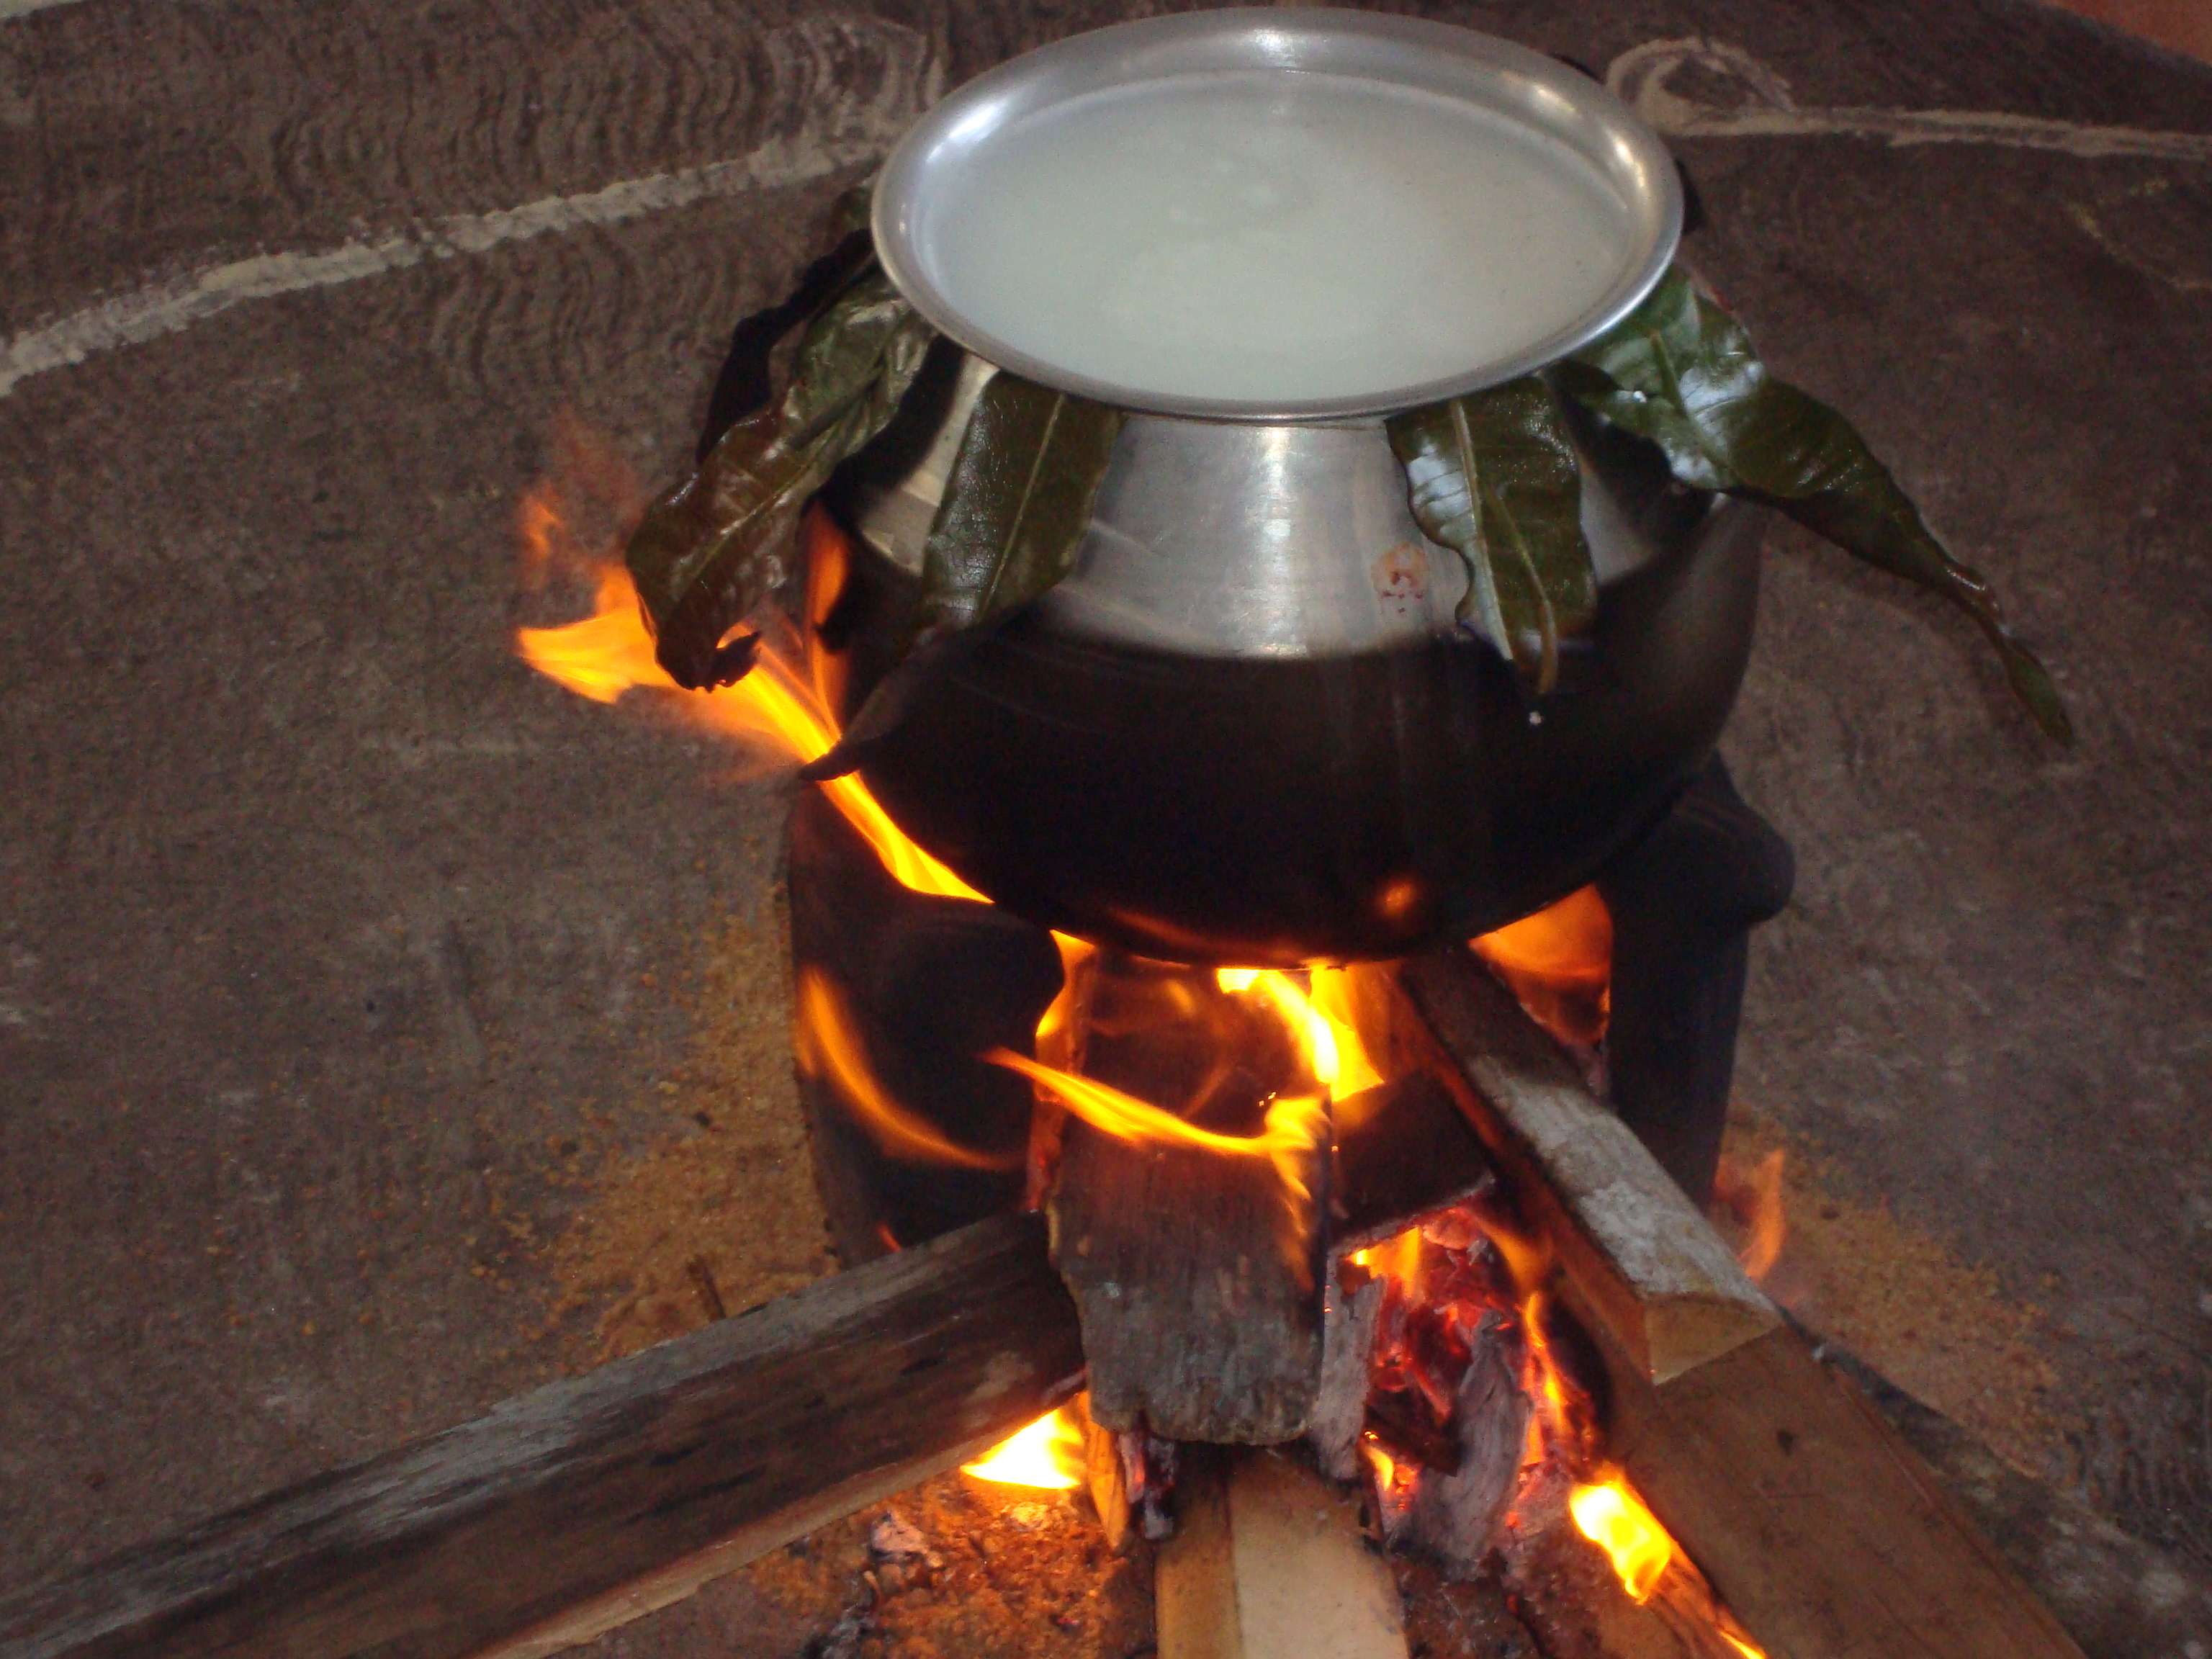
Everyone waits for the milk to boil over – this symbolically means prosperity for all for the coming year (‘Ponguthal’ means boiling over and is the word that festival name and dish derived its name from)

The rice is then added to the pot – a handful at a time by some of the elders, women and men, present.

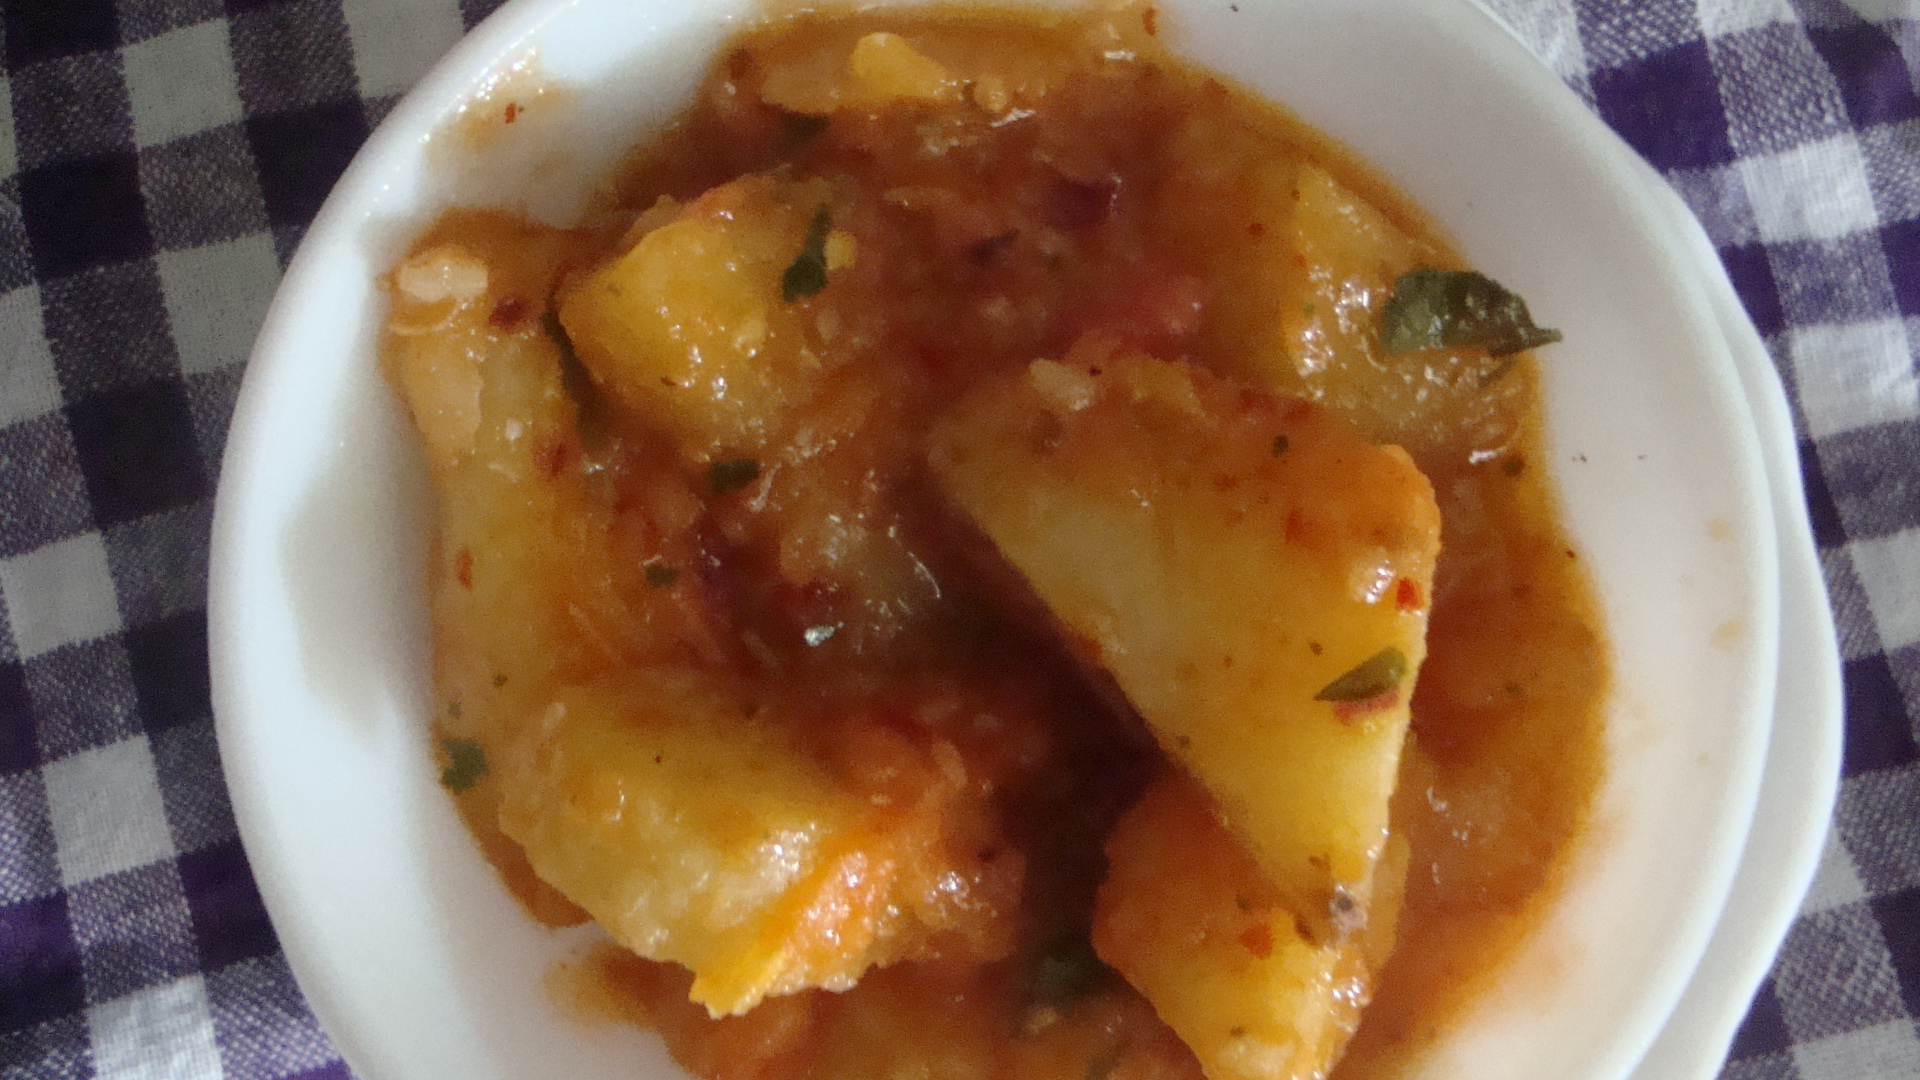
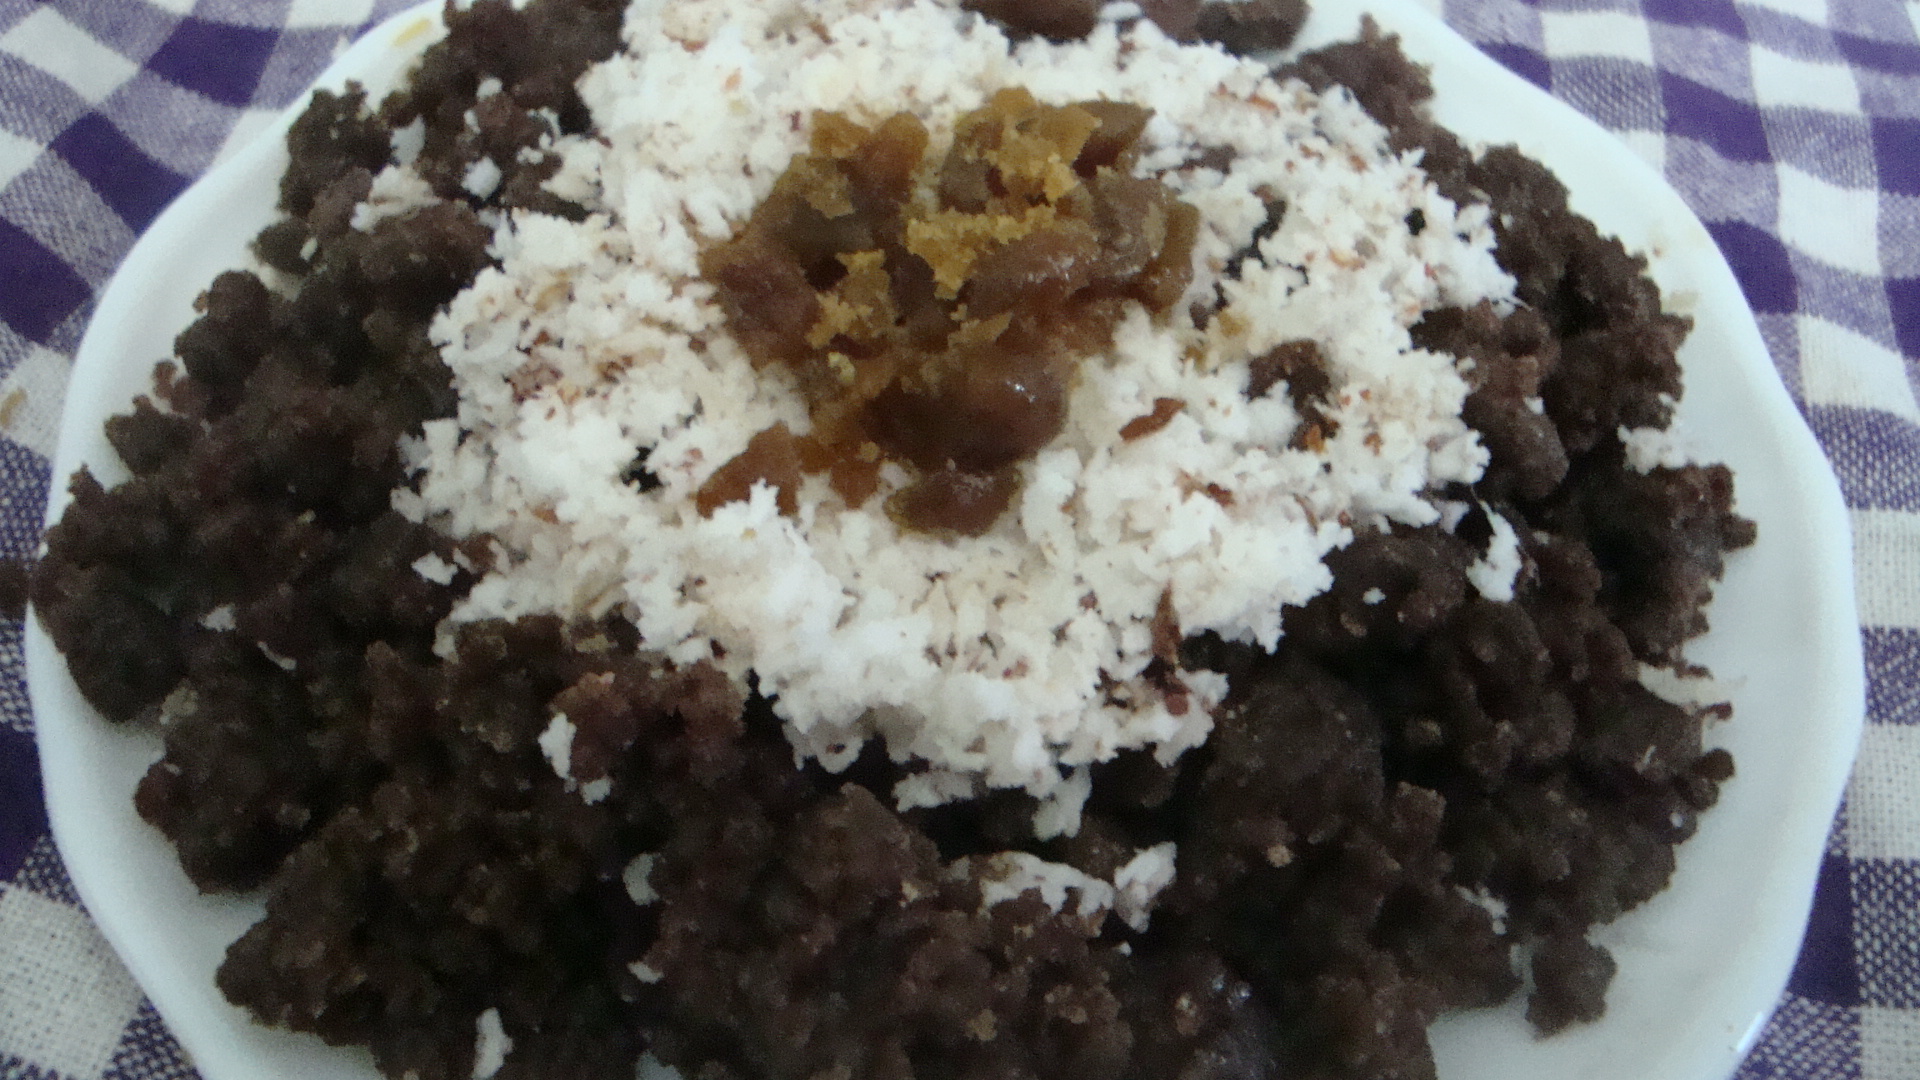
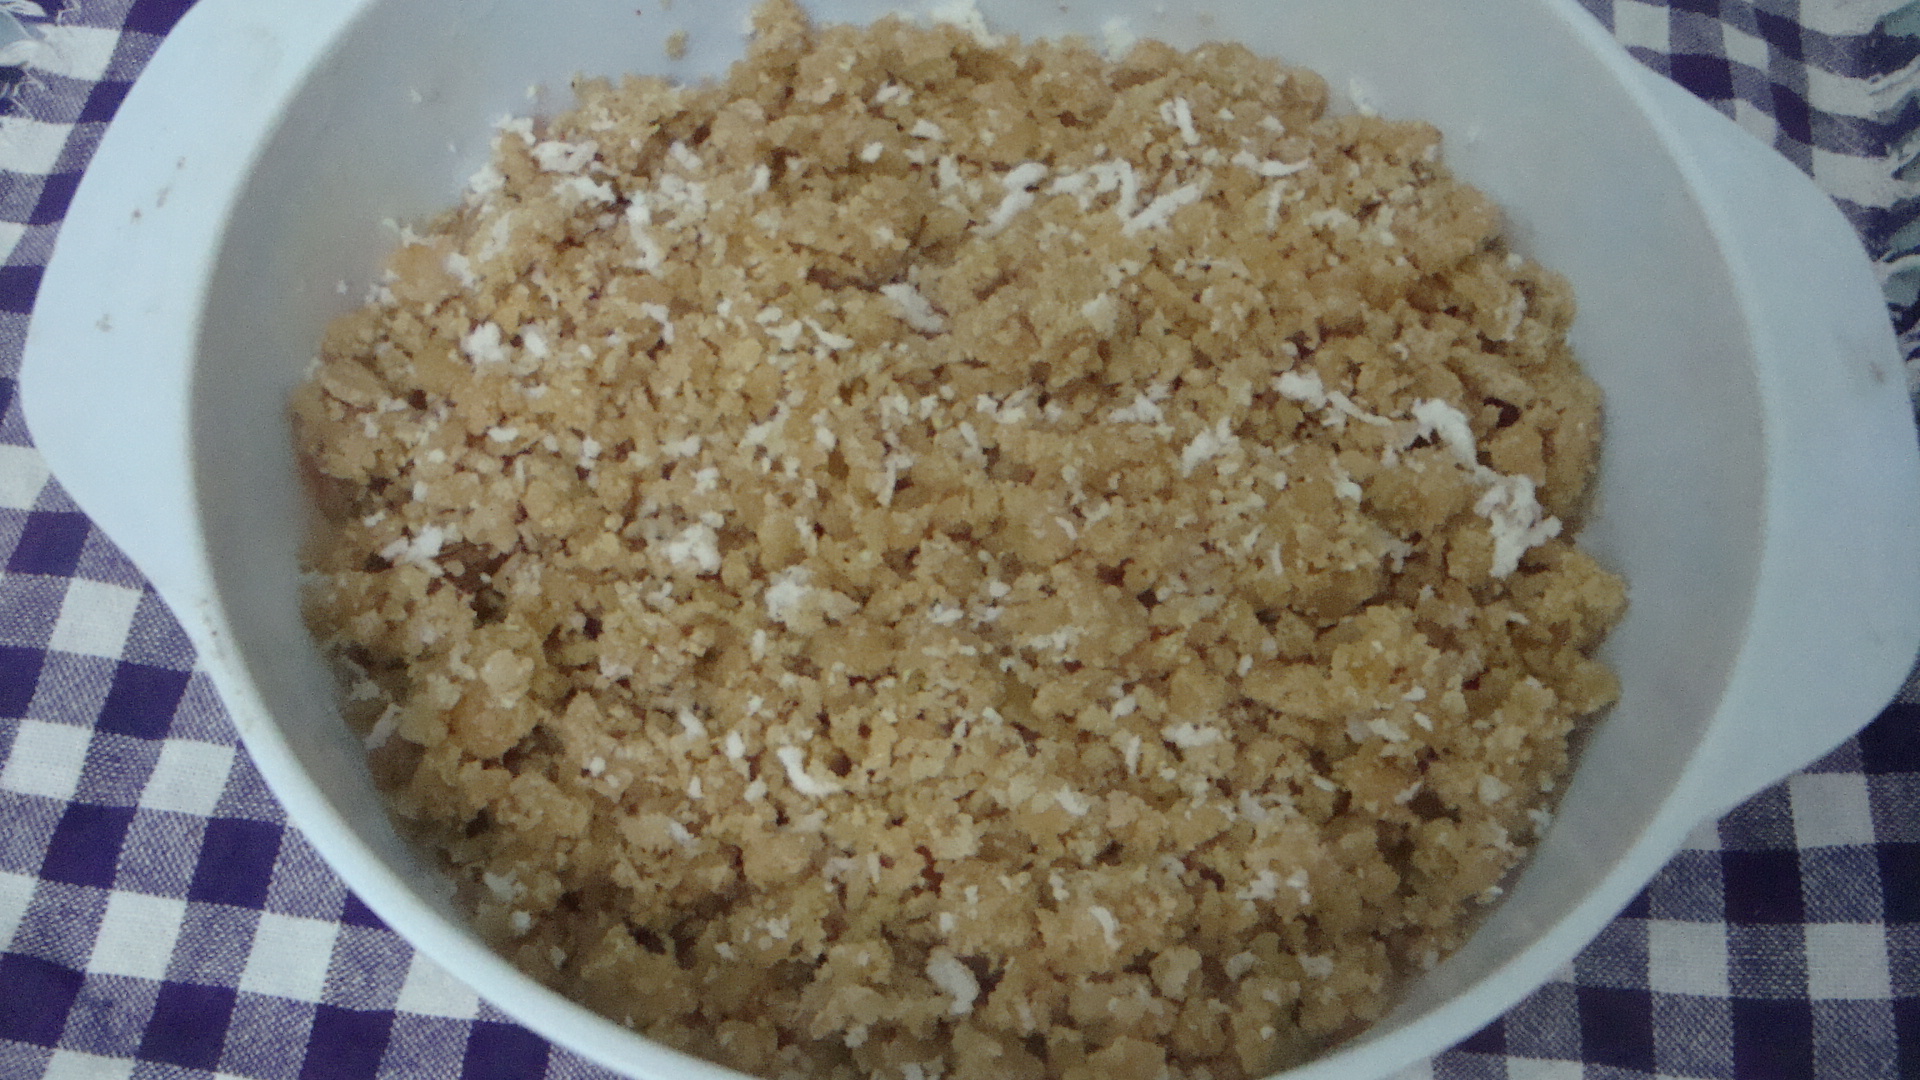
After the rice is cooked, jaggery, nuts, raisins are added to the pot and stirred well. Finally, the pongal is ready to be blessed and served.
While Thai Pongal is an important Tamil festival for Tamils living around the world, it is celebrated differently in different countries. In Sri Lanka, Pongal is mostly celebrated as described above whereas in India, it is a three-day festival with a day dedicated for cows. A harvest day festival around this day is also celebrated across India and Nepal but called different names (Makara Sankranti, Lohri, Uttarayana, Magh Bihu etc.) in different regions and has different rituals.
Wish you a Happy Pongal!
0.000000
0.000000
 Ingredients: