My mother often recounts a story from her childhood years, particularly ones that include her grandmother. One story she is fond of narrating is about how her grandmother used to undertake her own farming and not use machines or chemicals. My great-grandmother, who was the last farmer in our family lost her husband at a young age and raised her three children on her own. She had some paddy land and a small vegetable farm, which she managed to buy with her own earning. While she did hire farm labourers when needed, she did a lot of work on her field herself. Also, she raised cows and goats and undertook organic farming. Compost was made on her farm and used in her field. She had her land ploughed with a hand-plough and planted the paddy seeds. When the seeds started growing, just like any other small time farmer, she undertook the weeding together with the help of some hired hands.
The harvesting season was a special process and the cut grain stalks would be loaded onto bullock carts and brought home for the grains to be separated from the husks. By the time they were brought home, it would be night. As there was no electricity in their home at that time, three or four petromax lamps were lighted. My mother remembers that she was very much excited during those days and didn’t want to go to sleep but stay up and watch. It seemed like a carnival at her grandmother’s home, with the place lighted up and movement of people throughout the night.
A pole was planted in the middle of the yard and large woven mats placed around the pole. The cut stalks were spread on the mat. The buffaloes were tied to the pole and two or three hired help would walk the buffaloes around the pole. This was the old process to separate the grains from the husks. My mother remembers watching the men walk the buffaloes calling out, “poli.” The stalks were then picked up and thrashed onto the mat and the grains would separate out and fall. These were then packed up in sacks.

The first handfuls of grain were beaten in a stone or wood “ural” to separate the raw rice from the grain. This was made into the first pongal of the harvest. Everyone who helped would be invited for a meal and given bags of grains.
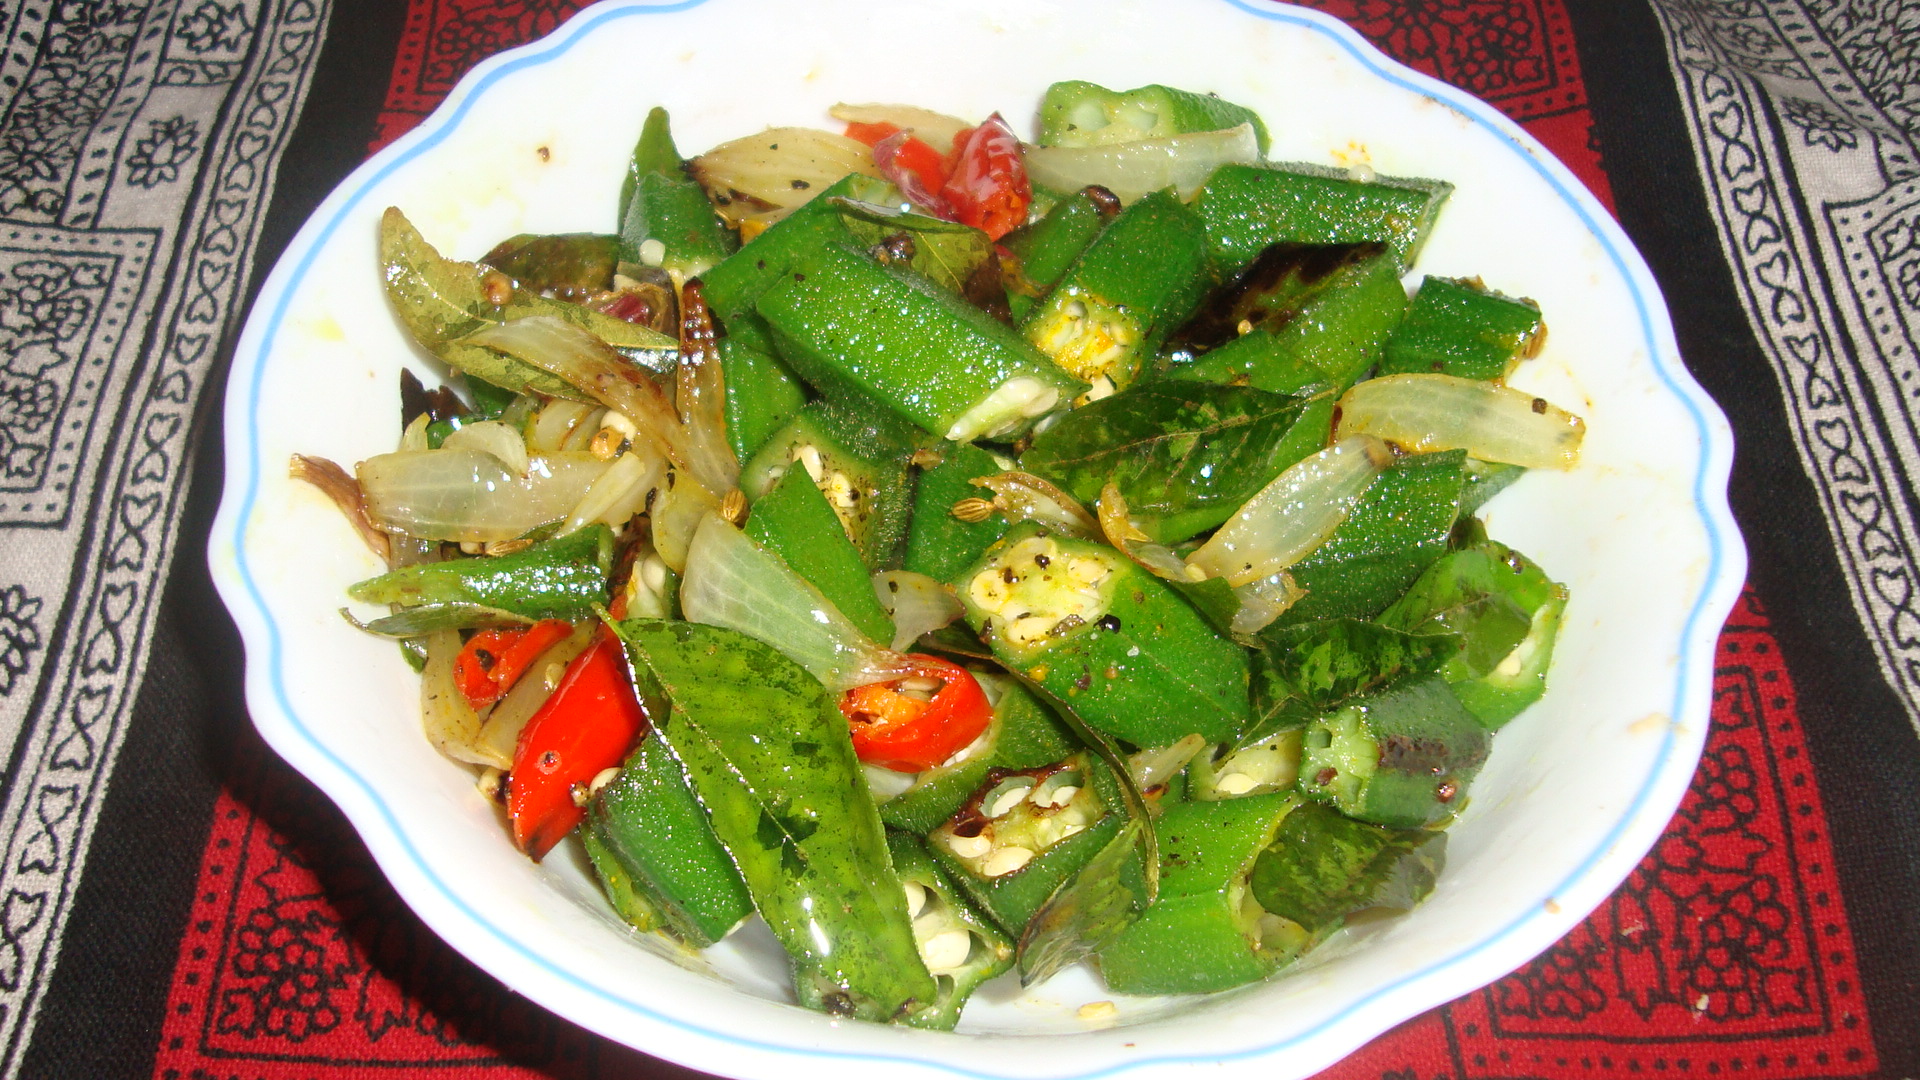
Family members who had died were also remembered on that day and a large variety of food was made. My mother mentions that a special offering was made that day, as part of the remembrance ritual, called the “puthir.” Her grandmother used to take some of the pongal made from the first rice from the harvest and spread it out on a large tray. Then, all types of available fruits were cut up and layered on top of the pongal. Honey was poured over the fruits. A sampling of all the vegetable curries that were made were also layered on top of the pongal-fruit-honey mix. Finally, ghee was poured over the tray of food and everything was mixed together. After the prayers were made, a little “puthir” was handed as “prasadham” (blessed offering) to everyone present.
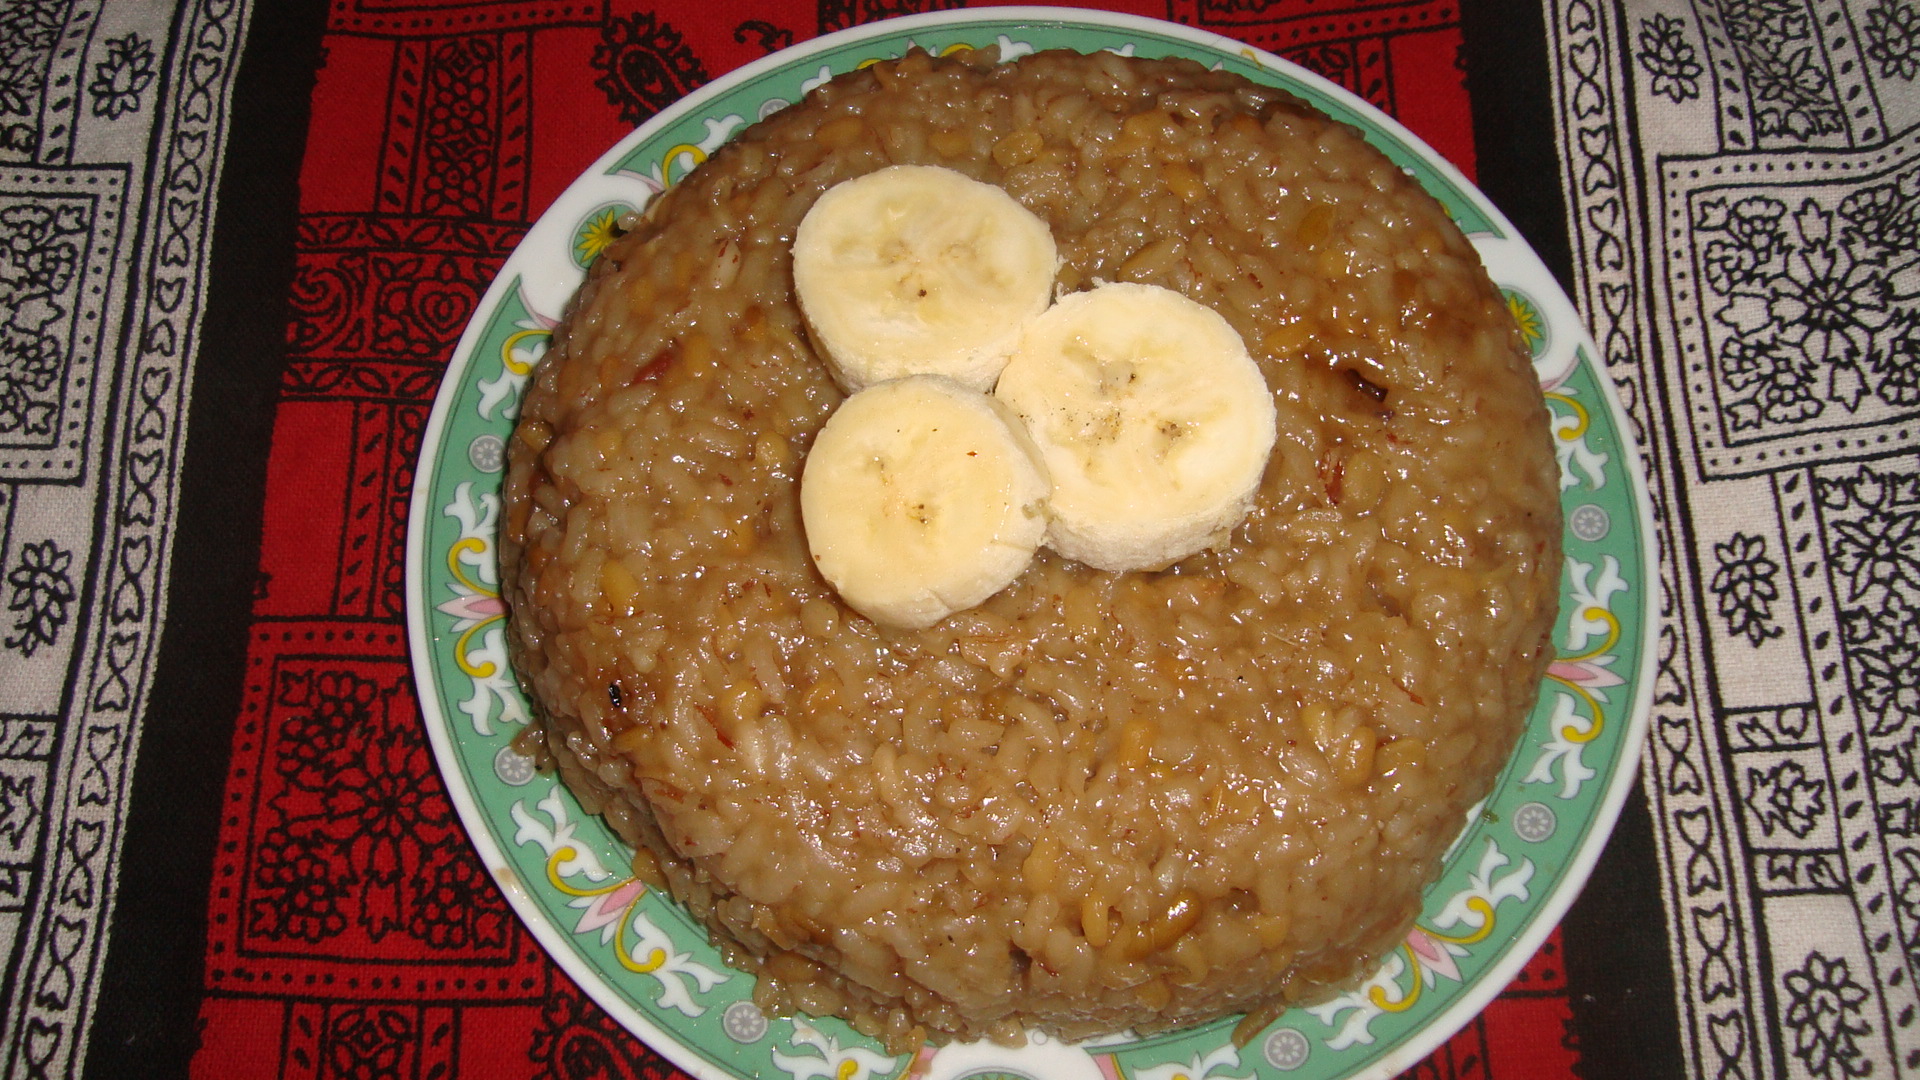
Today, I will share the recipe of pongal that is made with the first harvest of the season by farmers and by non-farmers on festival days such as the Pongal festival in January, New Year in April and other celebrations.
Pongal
Cooking time: 30 to 40 mins
Serves 4 or 5

Ingredients:
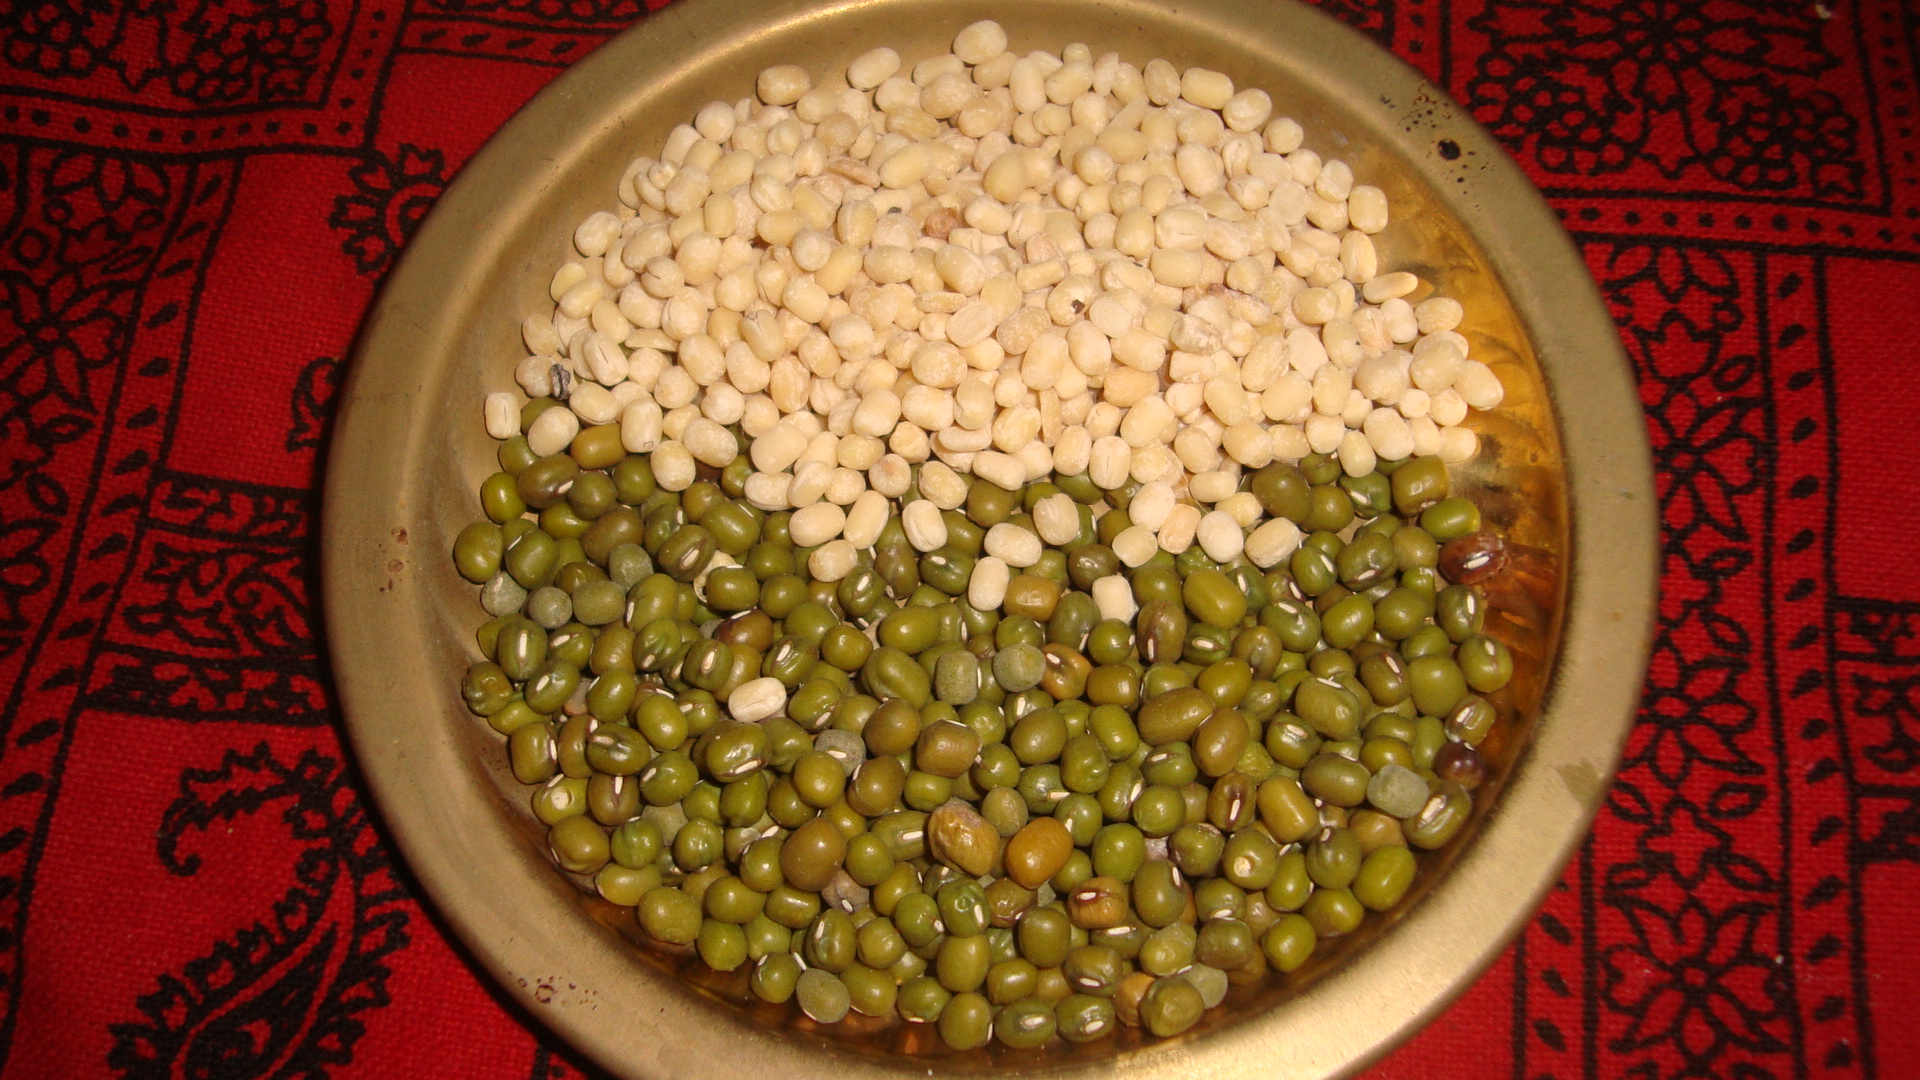
- Rice – 1 cup
- Roasted split gram (without skin) – ¼ cup
- Jaggery – 1 cup (grated)
- Coconut – ½
- Cardamom – 4 or 5, crushed
- Cashew nuts – few, chopped
- Raisins – 1 tbsp
- Water
Method:
- Wash the rice and gram and cook them in a pot with 2 ½ cups of water. Cook for around 15 to 20 mins, till the water dries up.
- Grind and extract coconut milk by blending the freshly scraped half of a coconut with 1 cup of water.
- Once the rice and gram is cooked, add the grated jaggery and mix.
- Then, add the coconut milk and crushed cardamoms. Bring to a boil on high heat and cook for a few more minutes before reducing the heat.
- Add the chopped cashew nuts. Cook until the pongal mixture starts coming together and starts to thicken.
- Just before removing from heat, add the raisins and mix.
- Remove from heat and cover.
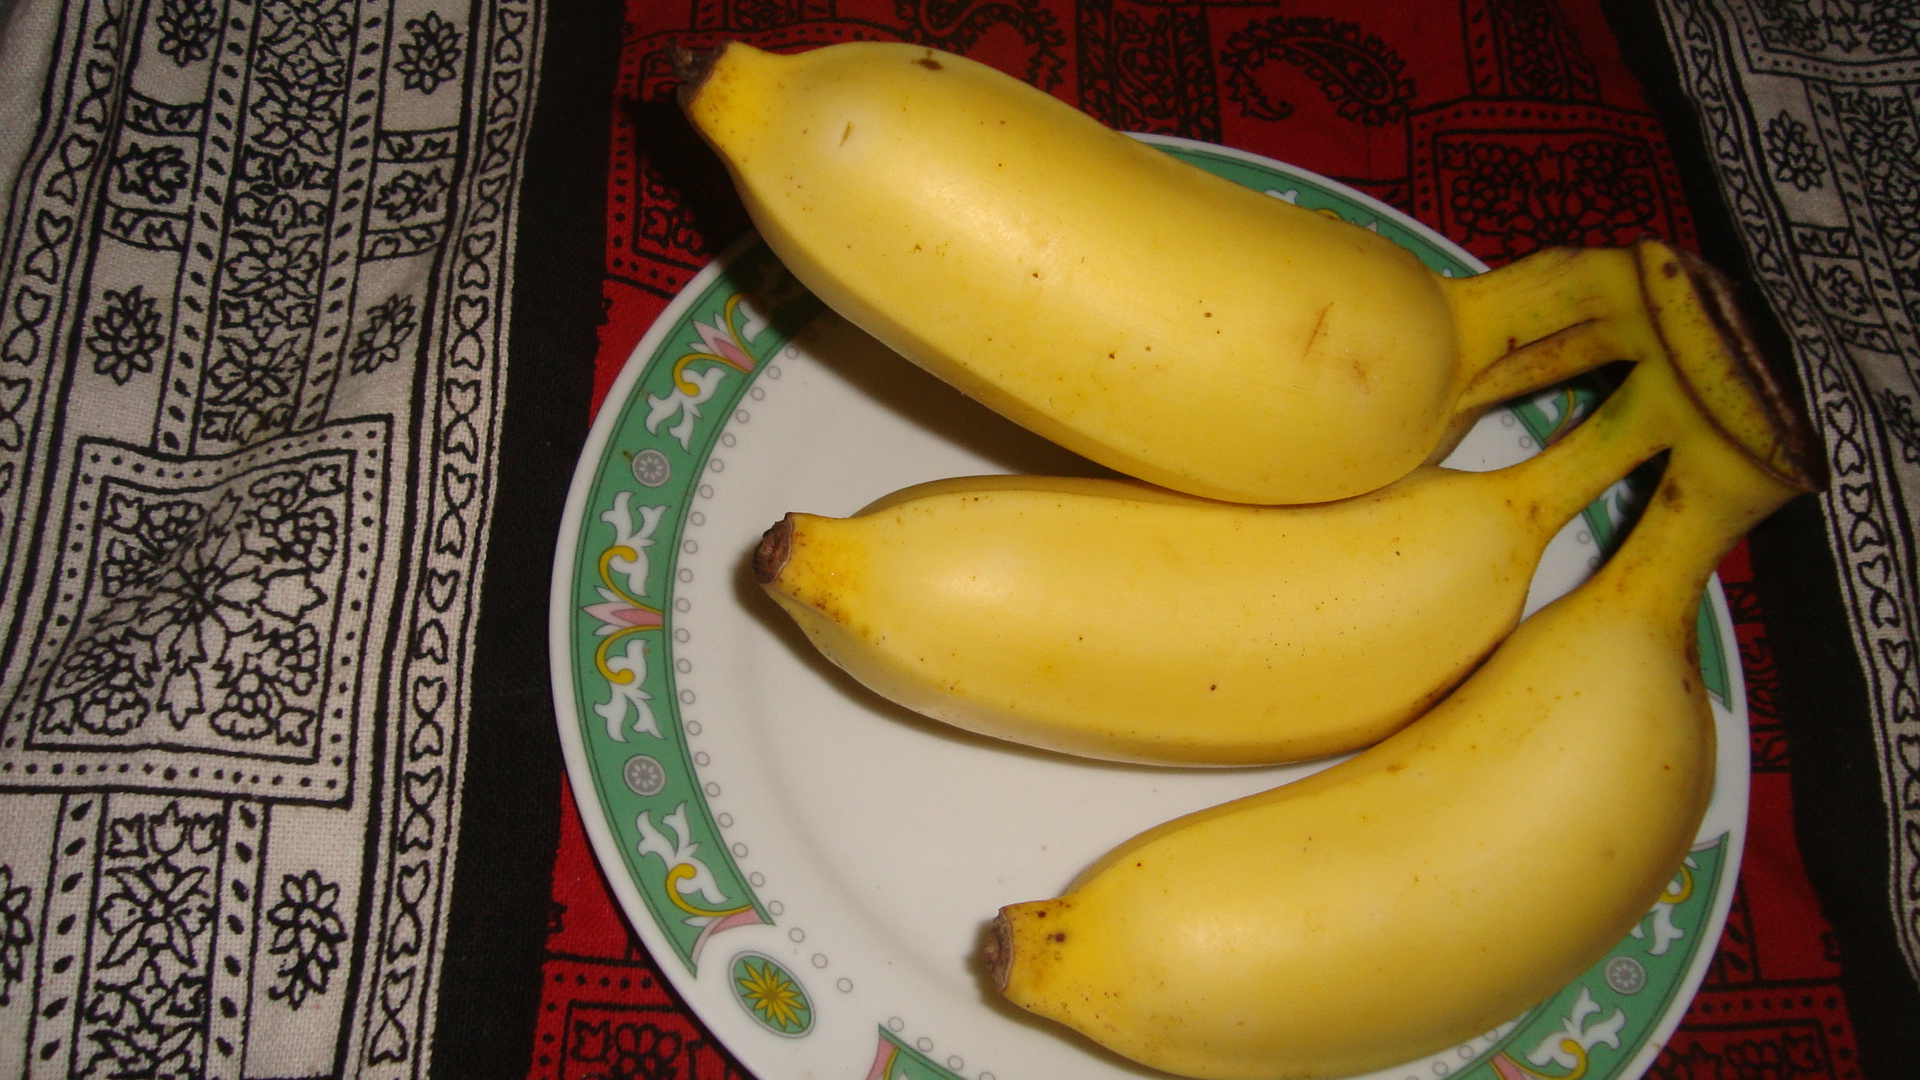
- Serve pongal with bananas.
Recipe source: Raji Thillainathan.
6.931940
79.847780