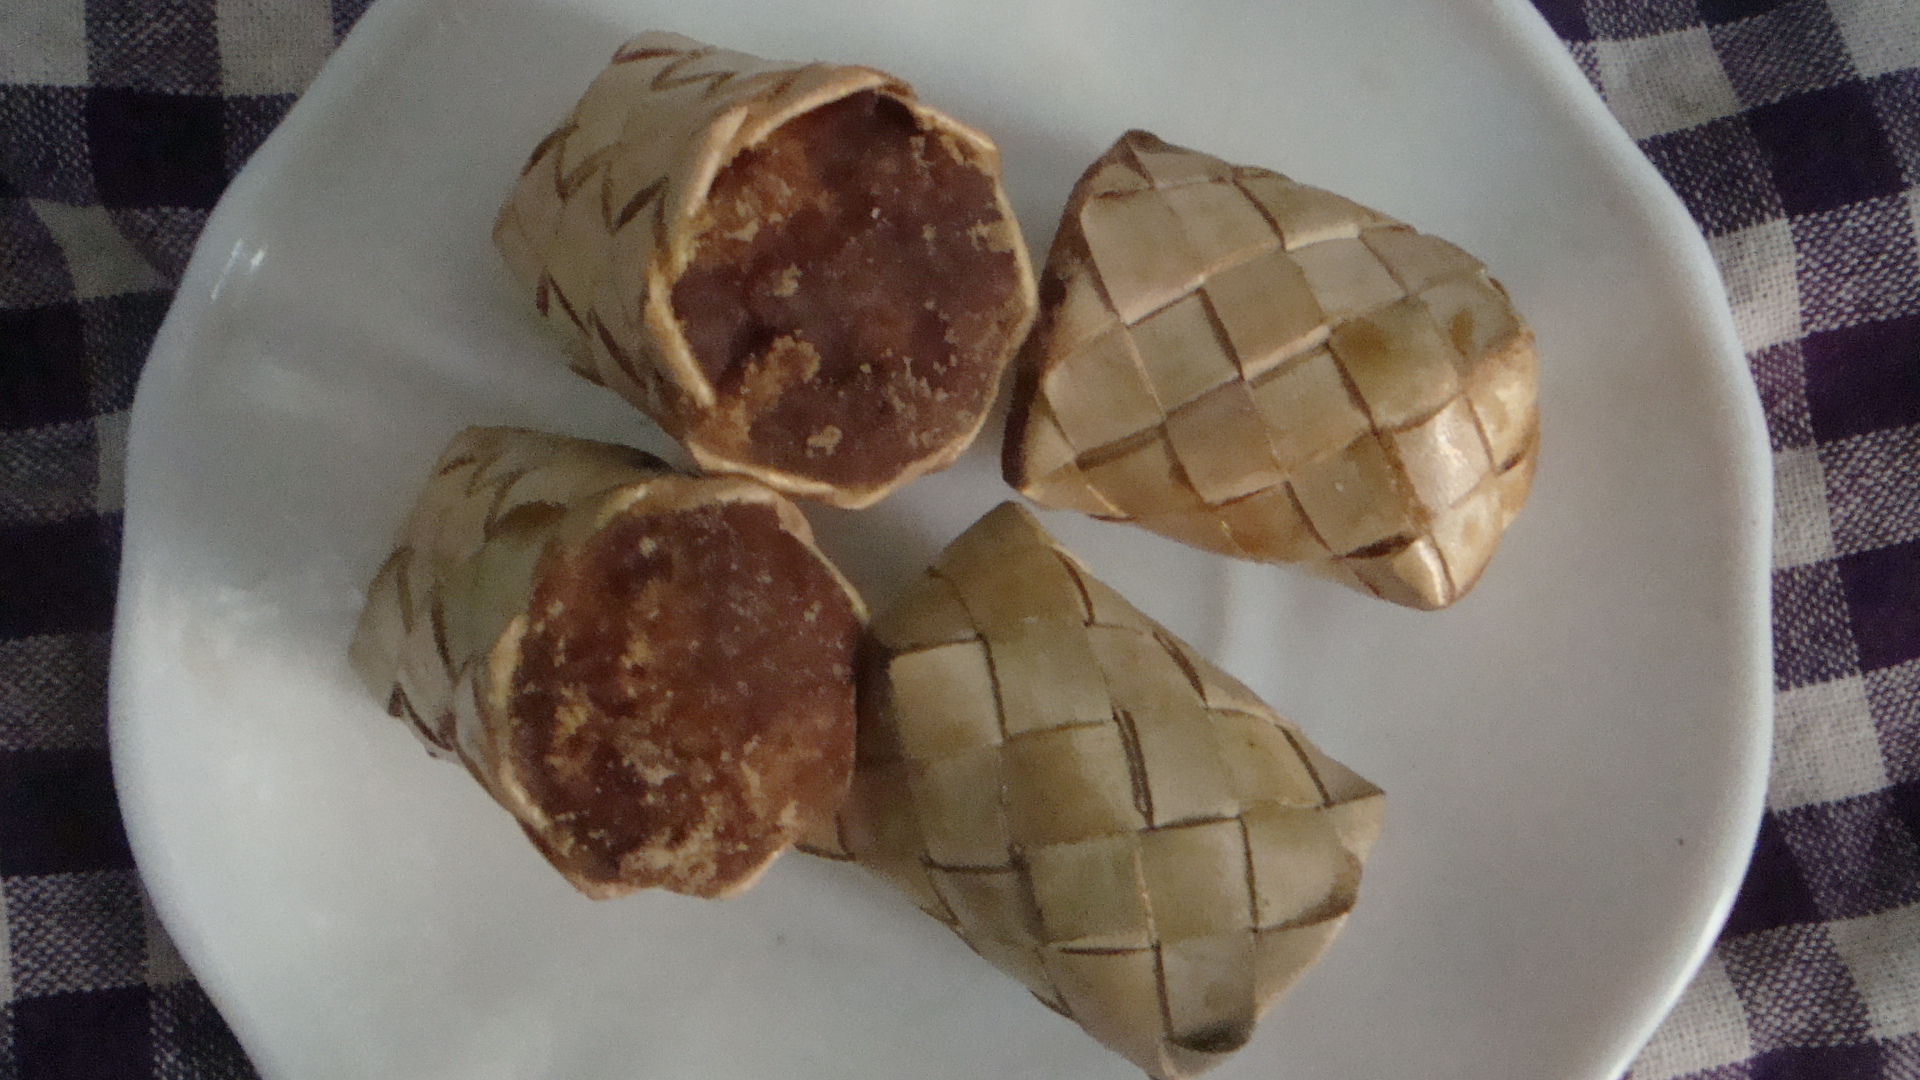
Two of my mother’s favourite snacks from her childhood days are ‘panaattu‘ and ‘paani panaattu’. She remembers her grandmother making them for their home consumption and storing them in little jars or earthen pots. When my mother and her sisters visited her, she would serve them these treats with tea or after a main meal.
It is much easier today to buy a jar of ‘paani panaattu’, from the Katpaham outlets around the country, as my mother did this weekend. However, as palmyrah used to be and is still considered an intrinsic part of the north Sri Lankan culture and cuisine, I do like to know and share the recipes of how these traditional delicacies are made.
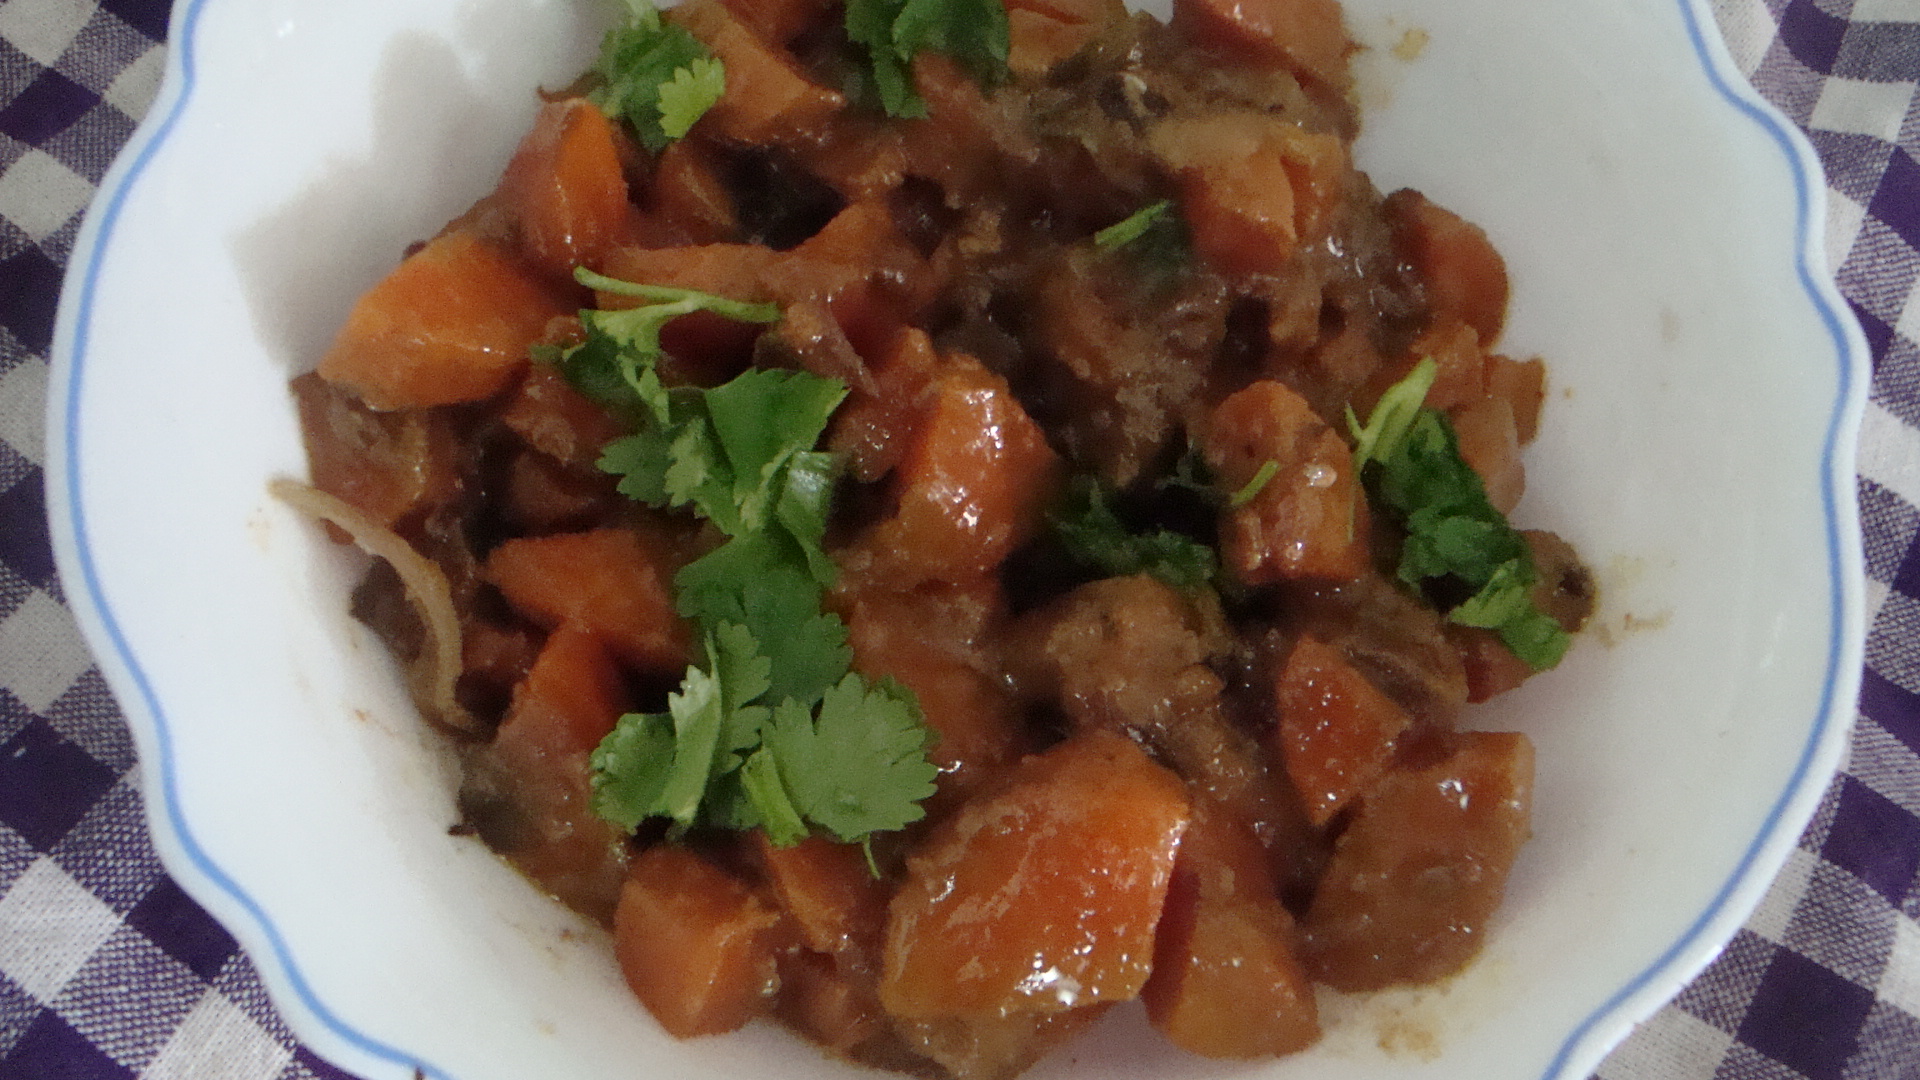
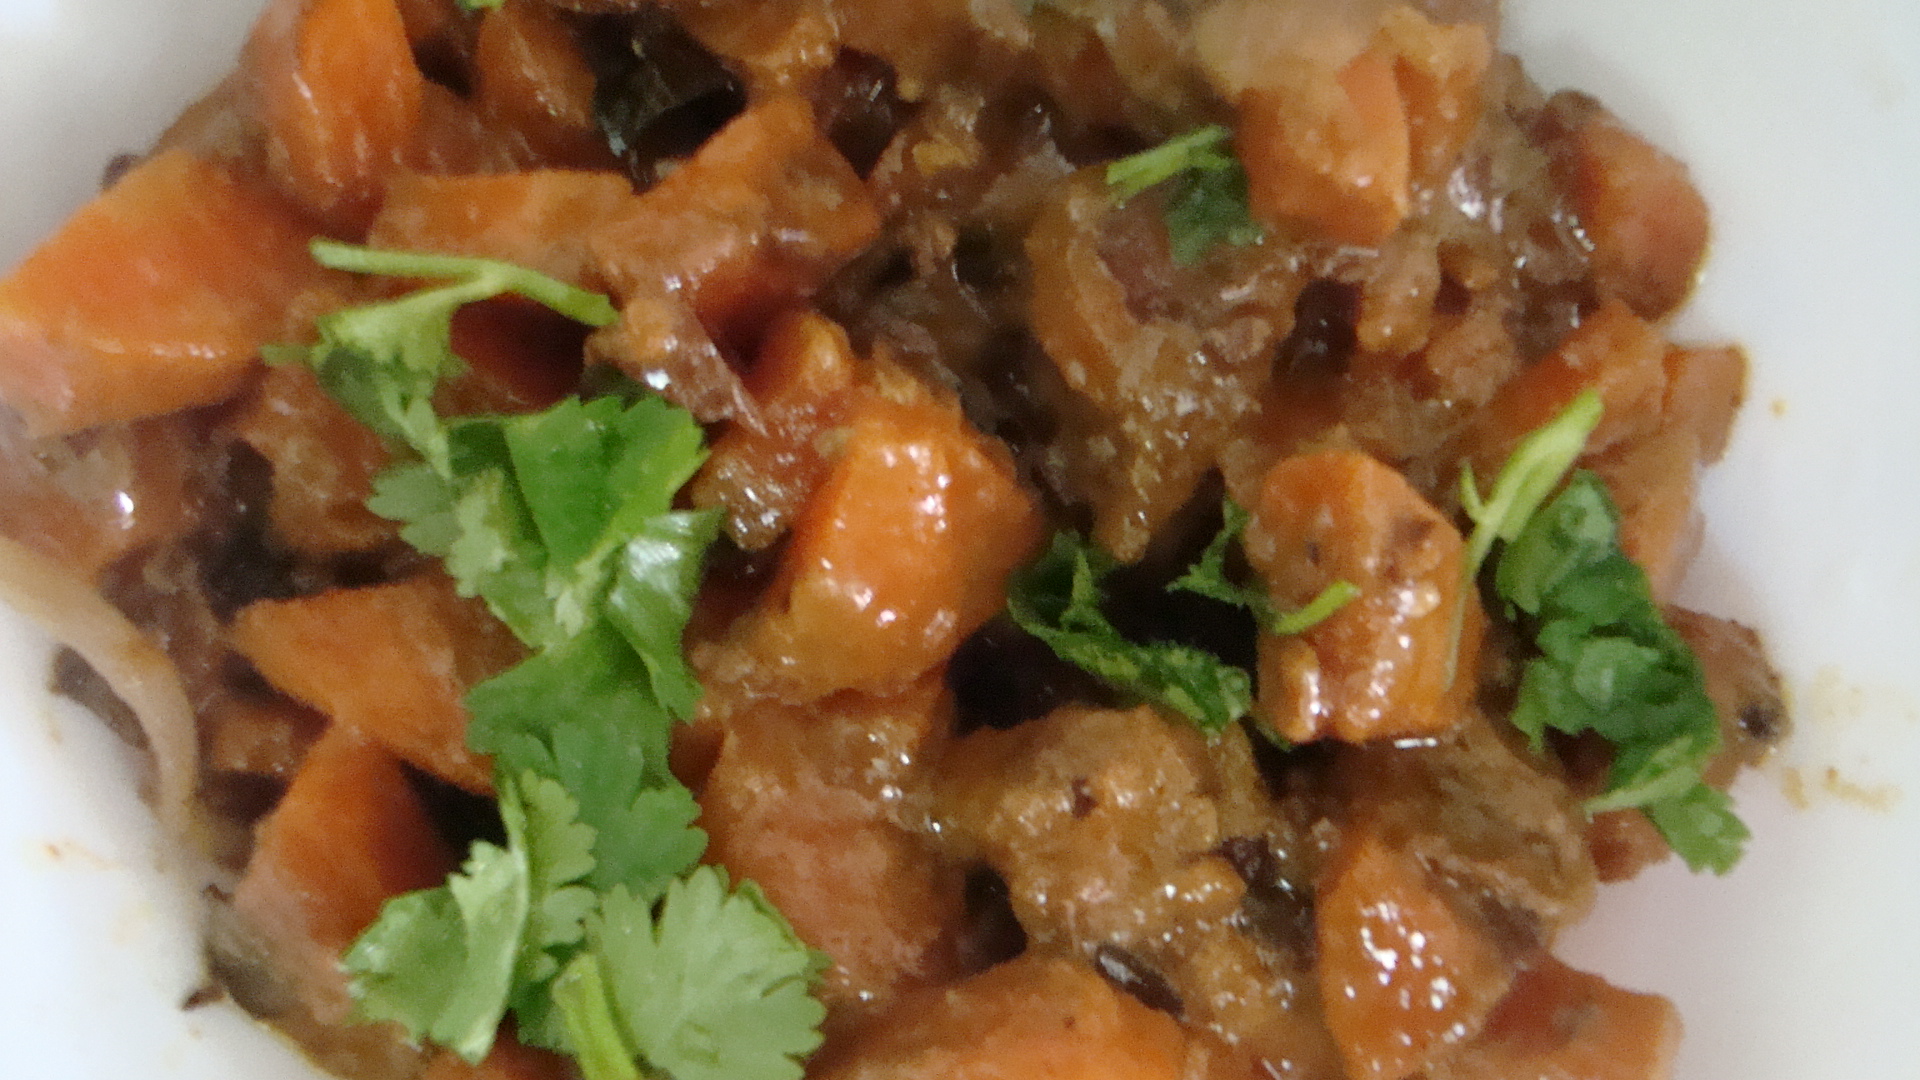
My mother felt that the ‘paani panaattu’ that she had bought didn’t quite taste the way she liked so she revamped it with the spices she remembers her grandmother had used. It was the first time that I tried ‘paani panaattu’ and I think this is another dish that is an acquired taste. It has quite a strong taste and is both spicy and sweet at the same time. My mother was delighted to go back to her childhood memories and favourite snacks while I enjoyed recording both recipes, as she remembered from her observations of my great-grandmother.
Paani Panaattu
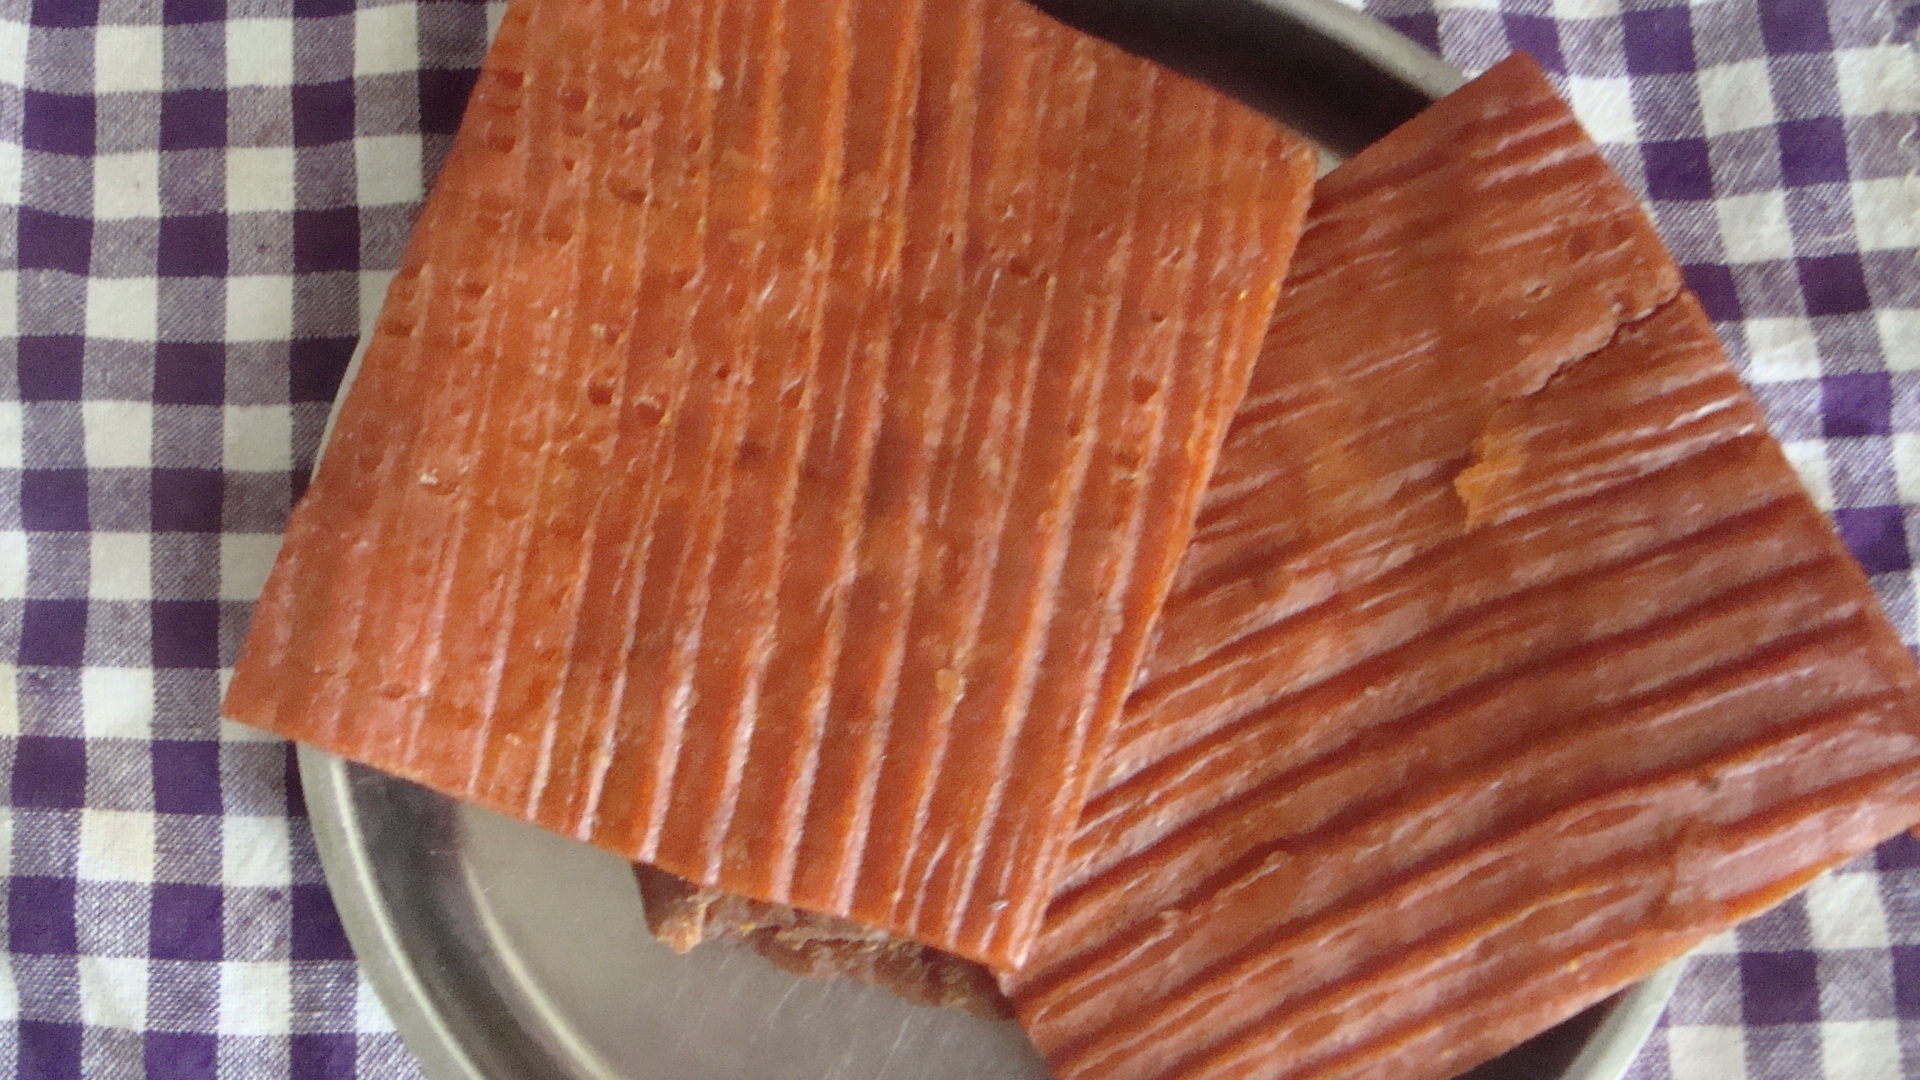
The palmyrah sap is collected by tying a pot to the stem of the palm flower stump after it has been cut or gashed to allow the sweet water of the palm to be collected. To prevent fermentation, a little lime is added to the pot. This water that is collected is non-alcoholic, due to not being fermented, and it is considered nutritious particularly for the elderly.
The collected palm water is then heated and continuously stirred till it thickens into a brown treacle like substance called ‘paani’ . ‘Paani’ is usually stored in an earthen pot and it can be stored for a long time.

Time taken: 10 mins
Serves 4
Ingredients:
- Paani – ½ cup
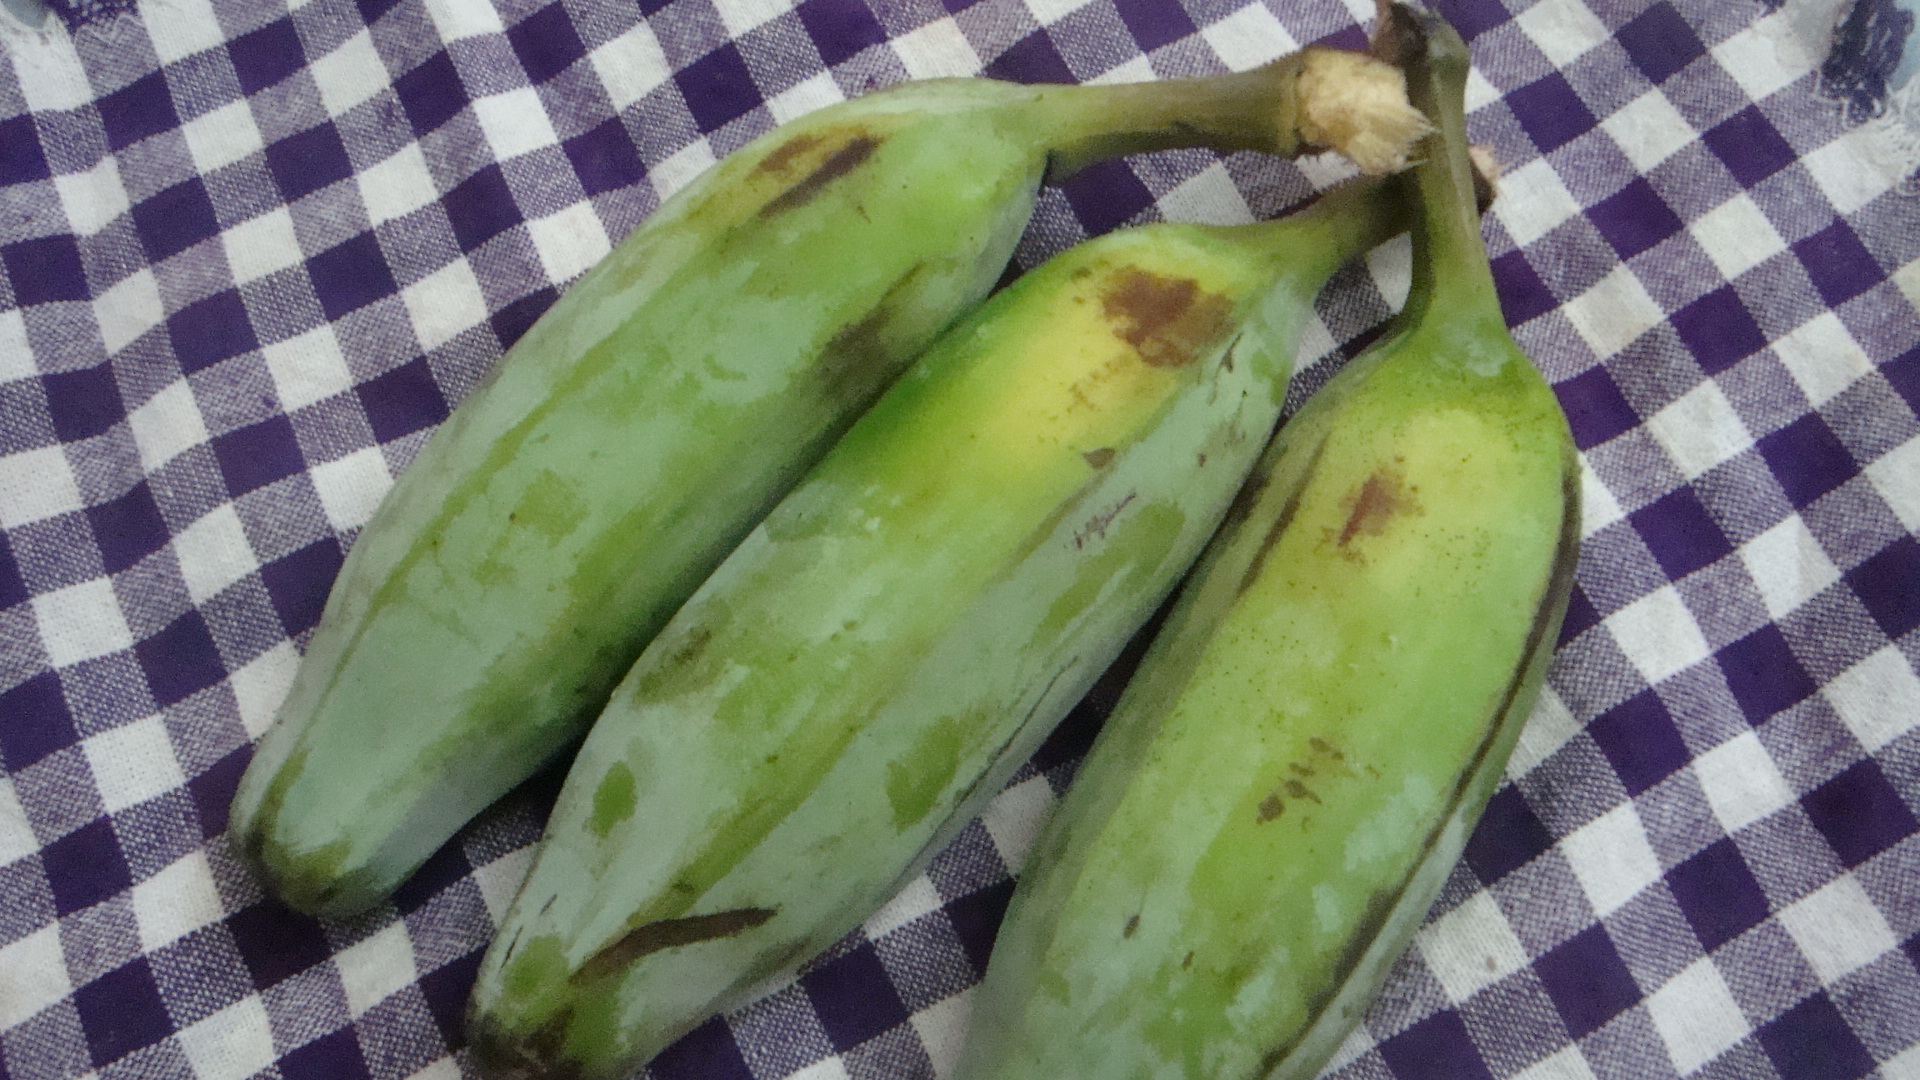
- Panaattu – 1 cup
- Coconut chips – 2 tbsp, roasted
- Roasted rice – 1 tbsp
- Crushed chillies – 1 tsp
- Cumin powder – ½ tsp
Method:
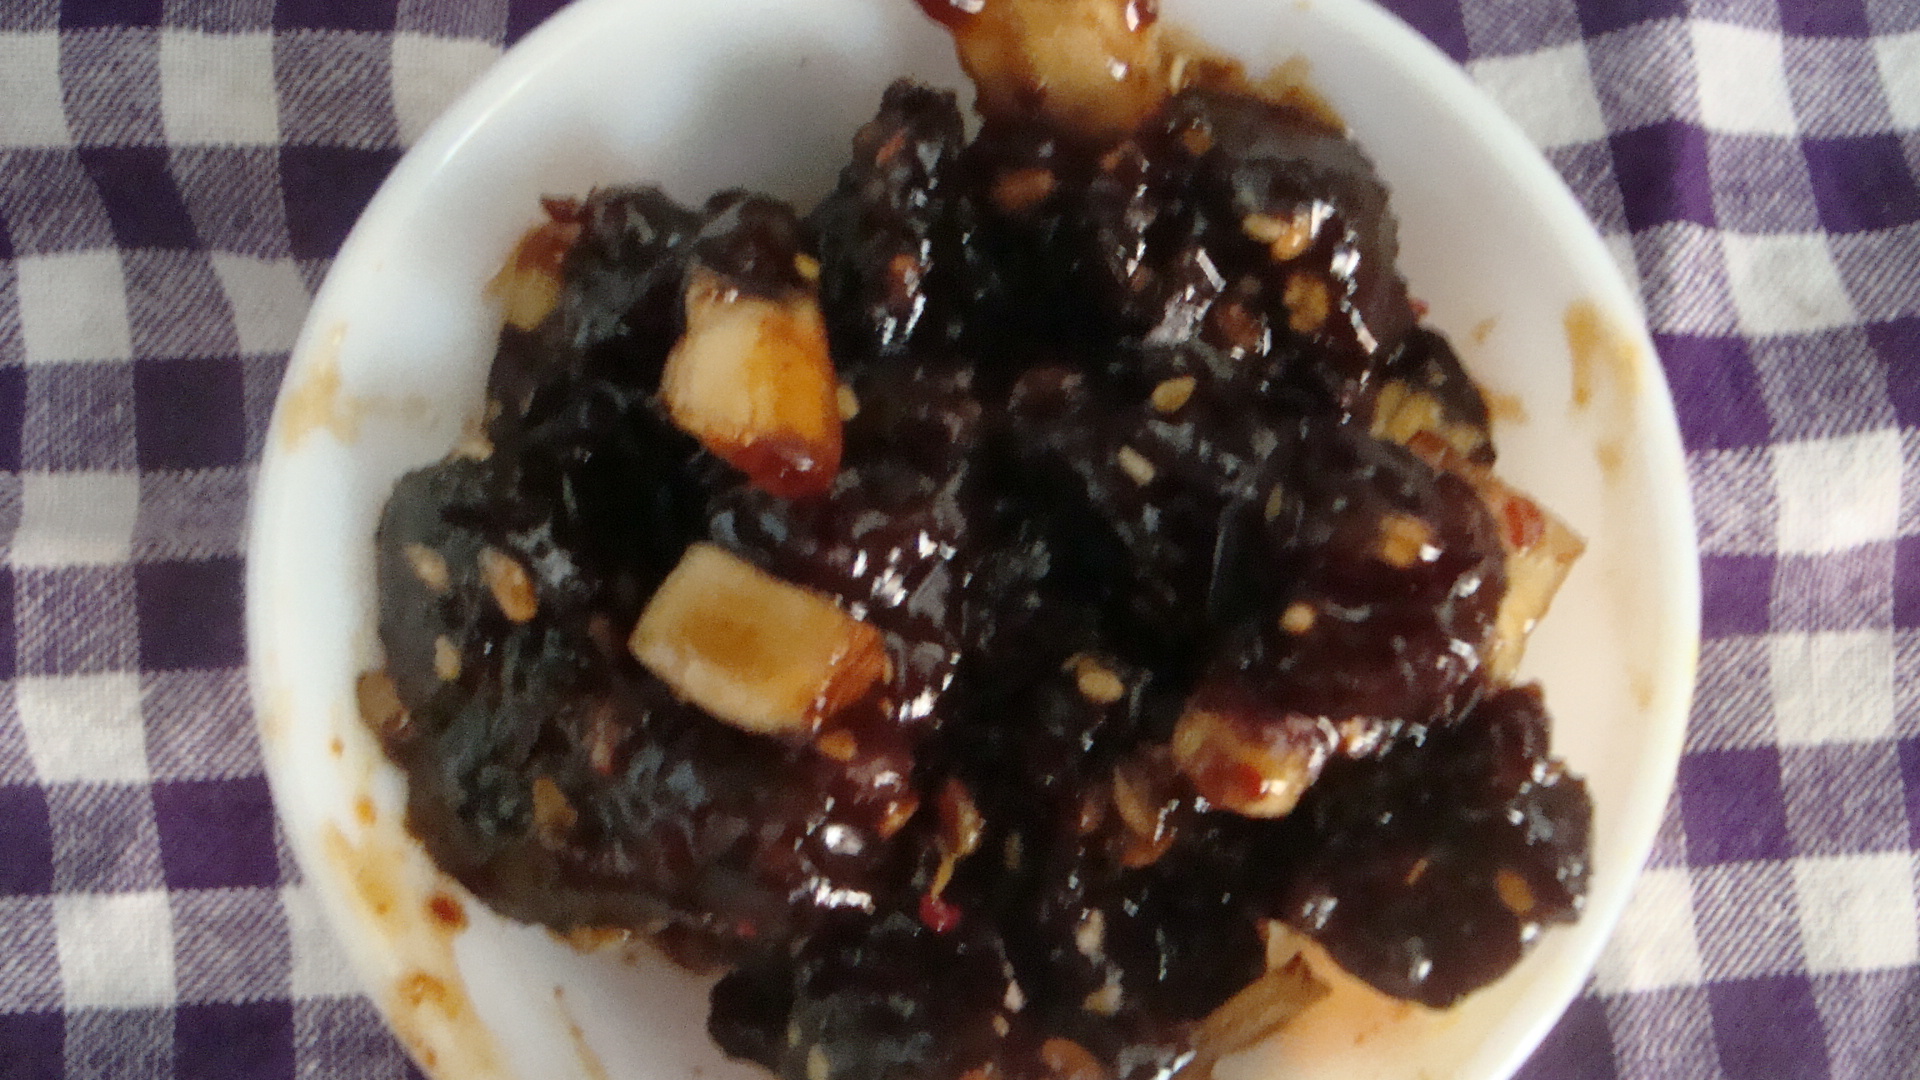
- Chop up the panaattu into small pieces.
- Heat the paani in a saucepan over low heat for about 3 mins.
- Add the crushed chillies and cumin powder and stir well for about 2 mins.
- Add the coconut chips and roasted rice to the saucepan for about 1 min.
- Then, add the panaattu pieces and stir for about 2 mins.
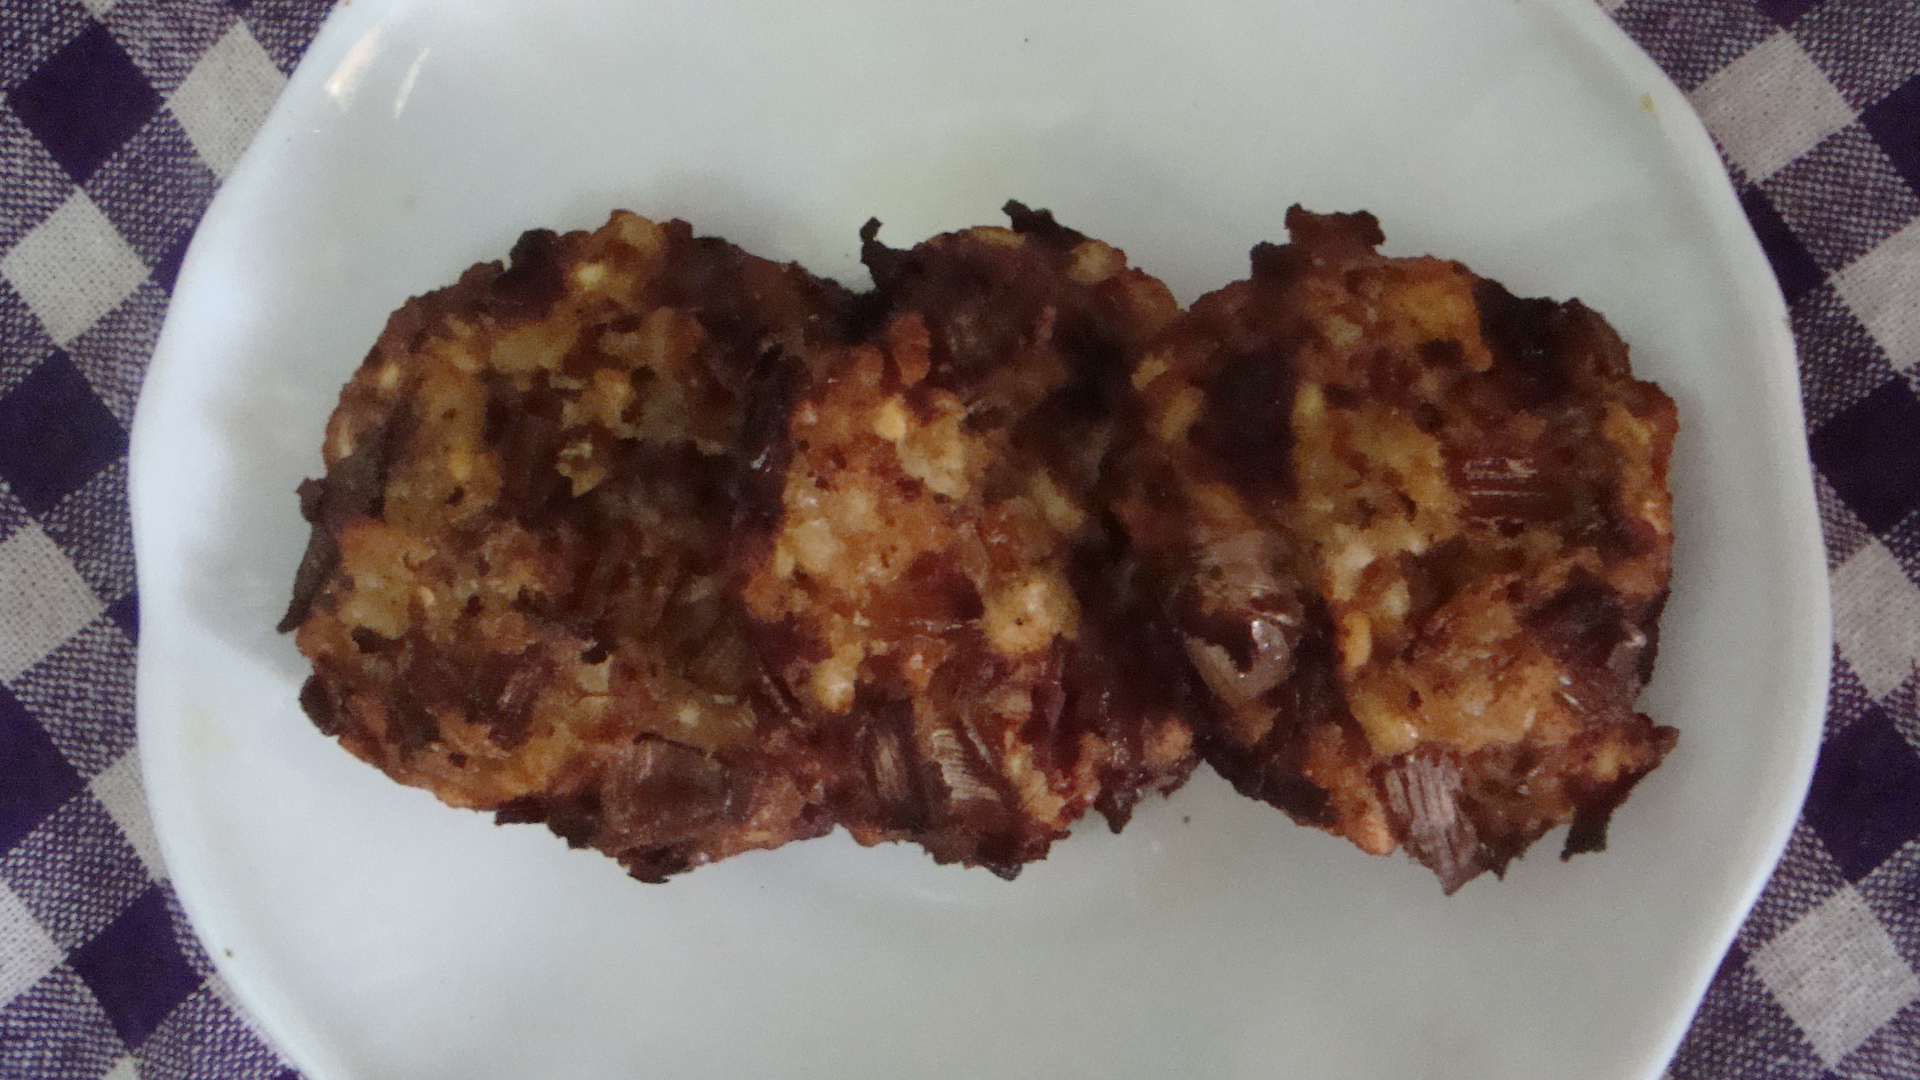
- Stir well until it thickens and remove from stove, to allow the ‘paani panaattu’ to cool before serving. When making in larger quantities, transfer to an earthen pot or air-tight jar.
Recipe source: Raji Thillainathan.
 Ingredients: