Vegetable soup

Update (04/07/4014): I just came across the Soups with SS event being hosted by Sonal and Shruti through the delicious soupe au pistou post of Angie. I wanted to share the only soup recipe that I have posted on my blog to-date. It is a simple vegetable soup.

Today’s recipe is my mother’s recipe for her favourite soup which she makes almost on a weekly basis at home.

Vegetable soup:

Time taken: 40 mins

Serves 4

Vegetable soupIngredients:

  • Mysore dhal – ½ cup
  • Carrot – ½ cup, chopped
  • Cabbage – ½ cup, shredded
  • Potato – 1, small and chopped
  • Beans –  ¼ cup, chopped
  • Leeks – ¼ cup, chopped
  • Celery – piece (optional)
  • Salt and pepper, to taste
  • Garlic flakes – a big pinch
  • Vegetable cube – 1 (optional)
  • Lime juice – 1 tbsp (optional)
  • Water – 4 cups

Method:

  1. Clean and chop the vegetables and place them in a soup pot/ pan.
  2. Add 4 cups of water and cook the soup for about 20 mins.
  3. Remove from stove and let the soup cool a little.
  4. Transfer half the soup to a blender and blend. Return the blended soup to the soup pot.
  5. Add salt and pepper, to taste, and garlic flakes to the soup pot. Mix well. A vegetable cube can also be added, if you like. Cook for few mins and warm up the soup.
  6. Just before serving, add some optional lime juice.
  7. Serve with toasted bread.

Recipe source: Raji Thillainathan.

20140604-100050-36050853

Egg-less chocolate cake

Chocolate cake

Time taken: 1 – 1 ¼ hrs

Serves 20 to 25

Chocolate cakeIngredients:

  • Condensed milk – 1 cup
  • Water – ½ cup
  • Vegetable oil margarine – 1 cup (250g) + ¼ cup (for icing)
  • Sugar – 1 cup +  ½ cup (for icing)
  • Multi-purpose flour – 2 cups
  • Semolina – ½ cup
  • Cocoa powder – ¼ cup + 2 tbsp (for icing)
  • Vanilla essence – ½ tsp + few drops (for icing)
  • Baking powder – 2 tsp
  • Baking soda – ¼ tsp

Method:

  1. Whisk the sugar and margarine in a bowl until creamy. Then, add the milk and continue whisking.
  2. Add the water and whisk till it is smooth and creamy.
  3. Sieve together the flour, semolina and cocoa powder. Add the baking powder and soda and mix.
  4. Gradually add the dry ingredients to the bowl of wet ingredients, mixing until there is a smooth batter.
  5. Transfer to cake tray and bake for about 45 mins – 1 hr at 170⁰C/340⁰F. Make sure you do not forget to check in around the 40 min mark (as my mother did this time) and take the cake out, without letting it over-bake else it will turn out too dry.
  6. Let the chocolate cake cool while preparing the chocolate icing.
  7. Mix 2 tbsp of cocoa powder with ½ cup of icing sugar in a bowl. The sugar can be reduced based on your tolerance level for sweets.
  8. Add the margarine little by little and whisk till the icing is creamy and smooth. Add the vanilla essence and mix well.
  9. Spread the chocolate icing evenly over the chocolate cake.

Recipe source: Raji Thillainathan.

Radish curry

I have never really liked radish as I do not like its smell. However, occasionally, it is cooked at home and this is a recipe of my mother’s that makes eating radish tolerable for even those who dislike it. Radish is supposedly good for lowering cholesterol and fighting cancer.

Radish curry

Time taken: 15 – 20 mins

Serves 4

Radish curryIngredients:

  • Radish/ Mullangi – 1
  • Onion – ¼, chopped
  • Green chilli – 1, chopped
  • Urad dhal – 1 tsp, roasted and ground
  • Pepper – ½ tsp
  • Turmeric powder (optional)
  • Low fat oil – 1 tbsp

Method

  1. Wash and peel the radish before chopping it into smaller pieces.
  2. Heat a tbsp. oil in a pan and sauté lightly the chopped onion and chilli.
  3. Then, add the chopped radish to the pan and mix well.
  4. Add 1 ½ cups of water to the pan and cook the radish for about 10 mins.
  5. If the water dries up, add another ½ cup of water.
  6. Add 1 tsp roasted and ground urad dhal and stir.
  7. Add pepper and optional turmeric powder. Mix well and cook for a couple of minutes before removing from stove.
  8. Serve with rice.

Recipe source: Raji Thillainathan.

Cabbage and carrot fry

Cabbage and carrot fry

Time taken: 25 mins

Serves 4

Cabbage and carrot fryIngredients:

  • Cabbage – 1 cup, shredded
  • Carrot – ½ cup, grated
  • Malu miris – ½
  • Onion – ½
  • Fennel – 1 tsp
  • Ginger – ½ “, chopped
  • Garlic – 2 or 3 cloves, chopped
  • Turmeric powder – ½ tsp
  • Scraped coconut – 1 tbsp
  • Crushed chillies – 1 tsp
  • Low fat oil – 1 tbsp

Method:

  1. Clean and wash the cabbage and add salt and turmeric to the shredded cabbage.
  2. Heat a tbsp oil in a pan and fry the chopped onion, ginger, garlic and fennel seeds for a couple of mins.
  3. Add the cabbage and carrot to the pan and stir fry for another 7 – 8 mins.
  4. Add the freshly scraped coconut, mixed with a pinch of turmeric, and crushed chillies. Stir fry for another 5 mins.
  5. Serve with rice.

Recipe source: Raji Thillainathan.

Dodol

To celebrate Eid, my mother made some ‘dodol’. This sweet has its roots in the Malay cuisine of Sri Lanka but has since become popular across the entire country.

The second best ‘dodol’ that I have tasted is the ‘dodol’ sold in a little family-run shop on a tiny road across the Peacock beach hotel in Hambantota district. The best was the exquisite dodol wrapped in woven reed that a relative had sent us. He unfortunately omitted to get the contact details of the entrepreneur he had randomly come across and purchased it from. So, I only have the remembrance of the taste by which I have compared all other ‘dodol’ since. I have also hoped that that entrepreneur would have been successful enough in his business and his products would be available at some popular outlet other than his previous door-to-door sales.

At my house, while everyone likes dodol, it is time-consuming to make. My mother doesn’t like to take much time over cooking so she created her instant ‘dodol’ version, which I would say is the third best in my dodol tasting experience.

So, today, I will share my mother’s recipe for her instant dodol as well as my grandmother’s recipe for regular dodol.

(a) Dodol (regular) – grandmother’s recipe

Time taken: 2 hours

Makes 20 pieces

Ingredients:

  • Coconut – 2 cup, freshly scraped
  • Roasted rice flour – 2 cup
  • Jaggery – 2 cup, grated
  • Crushed cardamom – 1 tbsp
  • Cashewnuts – ¼ cup, chopped

Method:

  1. Blend freshly scraped coconut with 10 cups of water and make coconut milk.
  2. Mix all ingredients in a large pot and keep stirring continuously over a medium heat for around 1 hour. Do not allow mixture to burn.
  3. Once it starts thickening and the oil starts separating. Separate the dodol from the oil and transfer to a tray and allow to cool for at least ½ hour. The separated coconut oil can be reused for cooking.
  4. Store in an air-tight container and slice and serve, when required. The regular ‘dodol’ can be stored for at least 2 weeks.

(b) Instant dodol – my mother’s recipe:

Time taken: 25 mins

Serves 4

DodolIngredients:

  • Coconut – ½ cup, freshly scraped
  • Roasted rice flour – ¼ cup
  • Jaggery – ¼ cup, grated
  • Cashew nuts – 1 tbsp, chopped
  • Cardamom – 3 or 4, crushed
  • Vegetable oil margarine – 1 tbsp

Method:

  1. Blend ½ cup of freshly scraped coconut with 1 cup of water to make coconut milk.
  2. Mix all ingredients in a pan and stir continuously over medium heat for about 10 mins.
  3. As the mixture thickens, add 1 tbsp of vegetable oil margarine and mix well. In the instant version, the stirring does not go on till the oil separates, hence the margarine is added before removing from stove.
  4. Transfer to a plate and allow the instant ‘dodol’ to cool for at least 15 mins before slicing and serving. The instant ‘dodol’ has to be served within 12 hours or so and cannot be kept for more time.

Recipe source: Raji Thillainathan.

Passion fruit cake

Today is Vijayathasami. The tenth day after the nine days of the Navarathri festival. It is considered auspicious to start new learning on this morning. Children who will be starting school in the coming year will have their ‘eadu thodakkal’ ceremony. The ‘eadu thodakkal’ is a ceremony where toddlers trace their first alphabets on a tray of grain and is usually held at the temple with the priest conducting the ceremony. One of my friend’s twins will be starting their ‘eadu thodakkal’ today and I feel sorry for her as they are two energetic boys who can’t keep still for a minute and I hope that she manages to keep them engaged at least for the alphabet tracing part.

For Vijayathasami, we have never really done anything at home other than visit the temple. At the start of the Navarathri, both at the temple and in the home, people plant the seeds of nine varieties of grain (nava thaniam) such as moong dal, chickpeas, urad dhal, kurakkan etc. and on the tenth day, the sprouts are collected and placed before the shrine in the home. The sprouts are supposed to symbolize growth, luck and prosperity. As a child, I used to keep a few of the sprouts in the school book of the subject that I wanted better grades on.

Today’s recipe for Vijayathasami is a non-traditional one – the recipe for my mother’s passion fruit cake as we enjoy baking at home.

DSC00110Passion fruit cake

Time taken: 55 mins

Serves 6 to 8

Passion fruit cakeIngredients

  • Low fat margarine (Sunflower or Canola) – ¾ cup + 2 tbsp
  • White sugar – ¾ cup
  • Passion fruit – ½ cup
  • Yoghurt – ½ cup
  • Water – ½ cup
  • Wheat flour – 1 cup
  • Semolina – ½ cup
  • Baking soda – ½ tsp
  • Baking powder – 1 tsp
  • Rose essence – few drops
  • Icing sugar – 6 tbsp
  • Lemon juice – 1 tsp
  • Vanilla essence – few drops

Method:

  1. Whisk the sugar and margarine till creamy.
  2. Add ½ cup of water, passion fruit, yoghurt to the creamed sugar and margarine and blend for about 2 mins.
  3. Add ½ tsp baking soda and 1 tsp baking powder.
  4. Stir in the flour and semolina gradually.
  5. Add a few drops of rose essence.
  6. Transfer to baking tray and bake for 45 mins at 170⁰C/340⁰F.
  7. Remove from oven and let the cake cool while you prepare the icing.
  8. Whisk 2 tbsp margarine, 6 tbsp icing sugar, 1 tsp lemon juice until creamy. Add a few drops of vanilla essence.
  9. Spread the icing over the cake evenly.
  10. Serve immediately or chilled.

Recipe source: Raji Thillainathan.

Laddu

While the semolina laddu is more commonly made in homes in Sri Lanka, particularly in the north, I prefer the chickpeas flour laddu. I generally refer to that laddu as the ‘Thirupathi laddu’ as the best chickpeas flour laddu I have tasted to-date is the ‘prasadam’ from Andhra Pradesh’s famed Thirupathi temple.

We rarely make it at home as it is not easy to come by high quality chickpeas flour in most stores. As an amateur cook who only started taking an interest in cooking six months ago, it was not surprising that I burnt my laddu during my first attempt. I learnt that one has to be really quick during the roasting and mixing other ingredients part.

So, for today’s Navarathri festival recipe, I would like to share my mother’s recipe for the chickpea laddu. The accompanying photo is temporarily that of the photo I took of the Vajira Pillaiyar koyil ‘laddu’ and will be replaced when I take a photo of the laddu my mother makes later this week.

Laddu

Time taken: 15 – 20 mins

Makes 8 – 10

LadduIngredients:

  • Chickpeas flour – 1 cup
  • Sugar – ½ cup
  • Low fat vegetable oil margarine or ghee – ½ cup
  • Cardamoms – 4, crushed
  • Cashew nuts – 2 tbsp
  • Raisins – 2 tbsp
  • Sugar candy – 1 tbsp (optional)

Method:

  1. Roast the chickpeas flour over low heat, without allowing it to burn, for about 5 – 10 mins.
  2. Add crushed cardamom to the pan. Mix and remove pan from stove.
  3. Heat the sugar and margarine in another pan, over low heat, for around 5 mins.
  4. Stir in the chickpeas flour.
  5. Add the chopped cashew nut, raisins and the optional sugar candy quickly. Do not allow flour to burn.
  6. Add 4 tbsp of hot water. Mix well and remove pan from stove.
  7. Using hand, quickly divide mixture into 8 – 10 smaller balls.
  8. Allow ‘laddu’ to cool and firm, before serving.

Recipe source: Raji Thillainathan.

Boondi

Today’s Navarathri recipe is Boondi, a fried chickpea flour sweet that is quite popular in Sri Lanka and available in Indian sweet shops. As I like it and I do not like the too sugary consistency of shop-bought boondi, my mother occasionally makes it at home. This is my mother’s recipe for boondi.

Boondi

Time taken: 25 mins

Serves 2

BoondiIngredients:

  • Chickpea flour – 2 tbsp
  • Wheat flour – 2 tbsp
  • Salt, to taste
  • Vanilla essence – few drops
  • Kesari powder – pinch
  • Sugar – 4 tbsp
  • Cardamom – 2 or 3, crushed
  • Rose essence – few drops
  • Cashewnuts – 2 or 3, chopped
  • Raisins – 1 tsp
  • Chickpea – 1 tsp, fried and split
  • Low fat vegetable oil, for deep frying

Method

  1. Mix the chickpea flour, wheat flour, salt, few drops of vanilla essence, pinch of kesari powder with a little water in bowl to make a batter. The consistency of the batter should not be watery nor too thick but fluid enough to be scooped easily with a spoon.
  2. Heat the oil in a pan.
  3. When the oil is heated and ready for frying, scoop the batter with a spoon and push it through a slotted spoon over the pan so that the batter falls through in little pieces into the oil.
  4. Ensure that the boondi pieces are golden brown all over before transferring them out of a pan onto a plate lined with grease absorbing paper. Repeat until all the batter is transformed to fried boondi.
  5. Make the syrup for the boondi by stirring the sugar with ¼ cup of water in a saucepan on medium heat. Add the crushed cardamom, kesari powder.
  6. When the syrup starts thickening slightly, add a few drops of rose essence and remove from heat.
  7. Add the chopped cashewnuts, fried and split chickpeas and raisins to the syrup.
  8. Transfer the fried boondi to the syrup. Let it soak for some time before serving.

Recipe source: Raji Thillainathan.

Murukku

Today’s Navarathri food festival recipe is my mother’s recipe for crispy and crunchy murukku. This is a delicious snack and it is usually difficult to stop eating the entire bowl, after tasting one or two pieces.

Murukku

Time taken: 30 – 40 mins

Serves 10

MurukkuIngredients:

  • Chickpea flour – ¼ cup
  • Steamed wheat flour – ¾ cup
  • Coconut – 2 tbsp, freshly scraped
  • Pepper – ¼ tsp
  • Salt – ¼ tsp
  • Turmeric powder – ¼ tsp
  • Sesame seeds – 1 tsp
  • Water – 1 cup
  • Low fat oil, for deep-frying

Method:

  1. Blend 2 tbsp freshly scraped coconut with 1 cup water and extract a cup of coconut milk.
  2. In a saucepan, heat the coconut milk, adding the salt, pepper and turmeric powder to the pan.
  3. When the milk boils, remove from heat and briefly cool the milk for a few seconds.
  4. In a bowl, mix the chickpea flour and the steamed wheat flour.
  5. Stir in the boiled, spiced coconut milk into the bowl of flour mix and make the ‘murukku’ dough.
  6. Fold in the sesame seeds into the dough mix.
  7. Heat some low-fat oil in a pan.
  8. Scoop some of the dough into the murukku mold and squeeze out the dough through the mold over the pan with the oil. Once the noodle-like ‘murukku’ is cooked and golden brown on all sides, remove from pan and transfer to a tray lined with grease absorbing paper.
  9. Repeat the process until all the dough is squeezed out of the mold and fried.
  10. Serve immediately or store in air-tight container to prevent the ‘murukku’ from becoming mushy and to retain its crispiness.

Recipe source: Raji Thillainathan.

Kolukkattai

With the start of Navarathri today, I thought of posting nine of my mother’s recipes of some food that she typically makes during this nine-day festival. I have always been fond of Navarathri, since my childhood, and I think of all the religious festivals that my family has observed, this has been the favourite and better observed.

The nine days of the festival are dedicated to Goddesses starting with the first three days for Goddess Durga, symbolizing courage and strength, the next three days for Goddess Lakshmi, symbolizing wealth and beauty, the last three days for Goddess Saraswathi, symbolizing knowledge and wisdom. The last three days are the most special of the nine days.

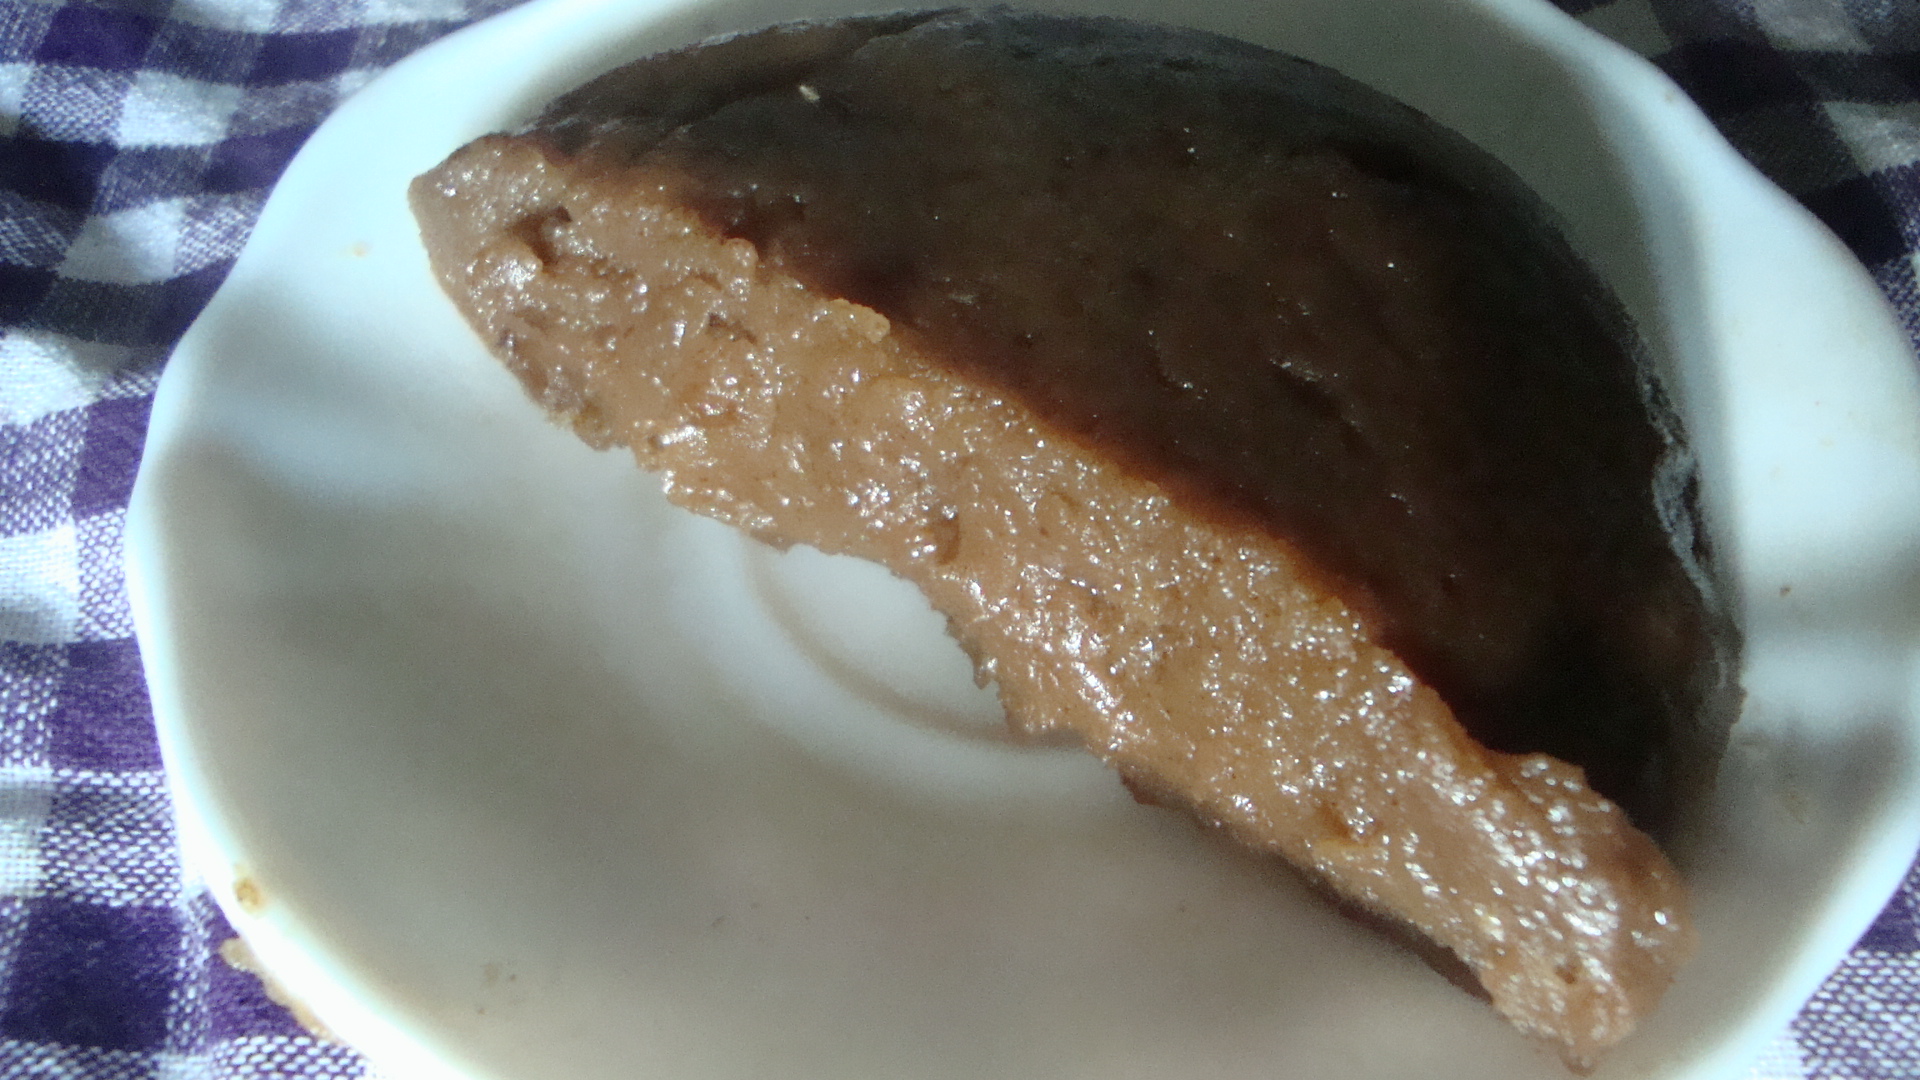
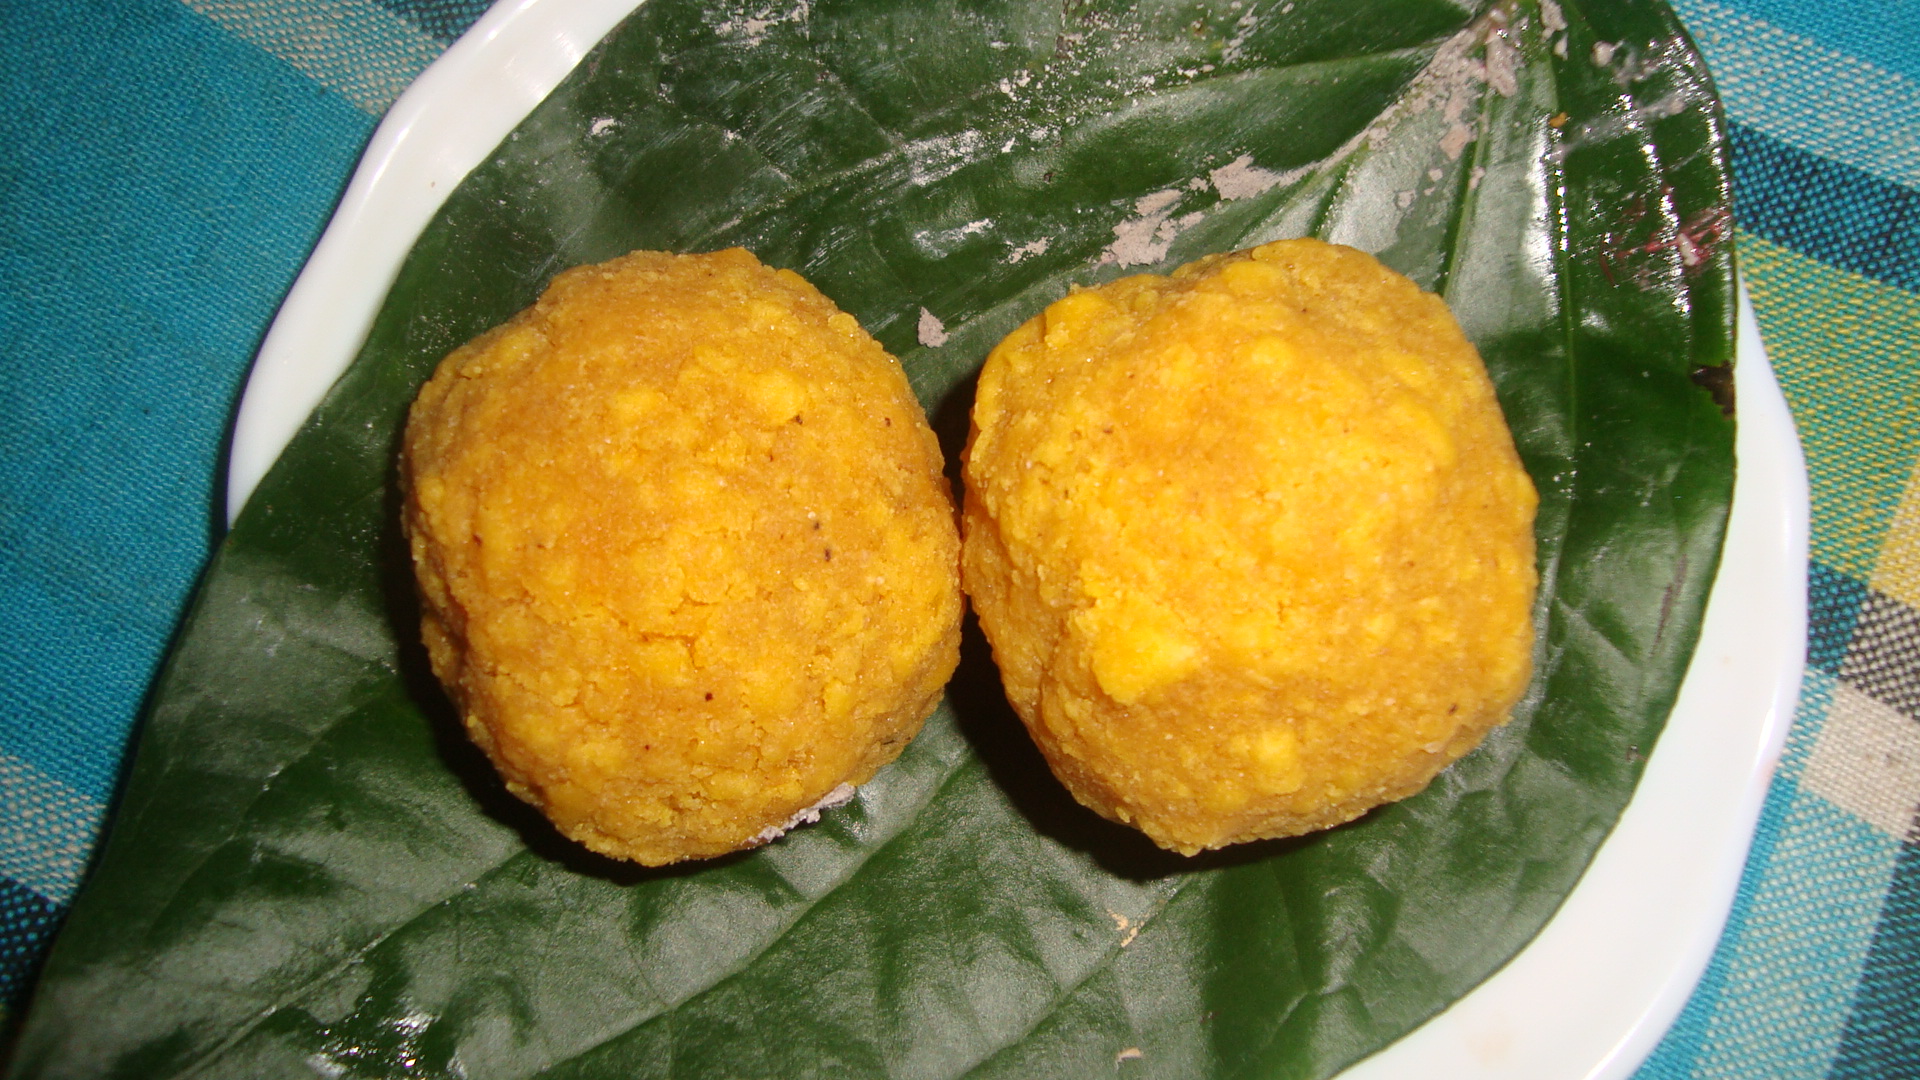
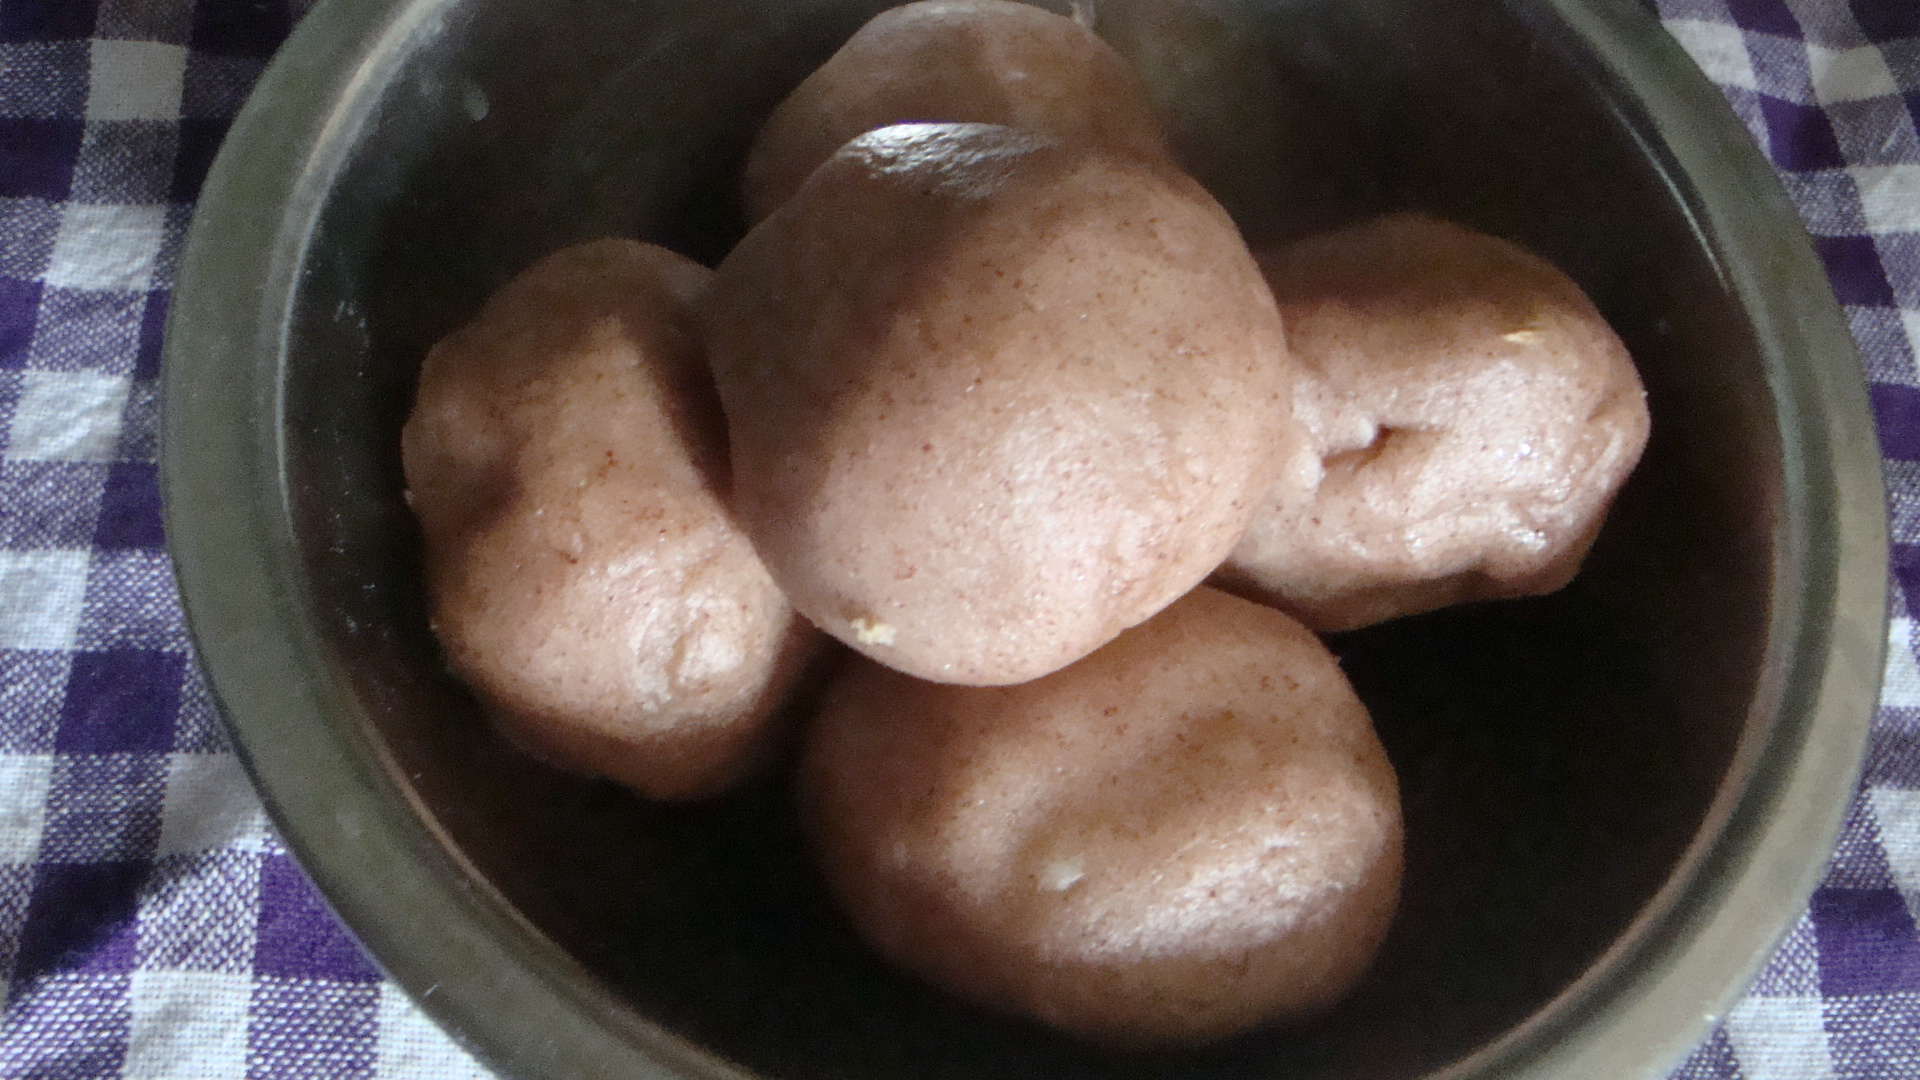
To start off the Navarathri food fest, I will first share one of my favourites – Kolukkattai. This is a steamed half-moon shaped dumpling made especially during the Aadi pirappu (July 15th, which is the first of the month of Aadi in the Tamil calendar) and during the ceremony that marks the arrival of a baby’s first teeth. It is actually ‘Mothaham’, a round shaped version of the kolukkattai, that is made during Navarathri but at my home, my mother prefers to make kolukkattai generally.

Mothaham

Mothaham

Kolukkattai

Time taken: 40 – 45 mins

Makes 10

Kolukkattai

Kolukkattai

Ingredients:

  • Green gram – ½ cup, roasted and split
  • Water
  • Wheat flour – ¾ cup
  • Rice flour – ¼ cup
  • Salt – pinch
  • Low fat oil, as required
  • Coconut –½ cup, freshly scraped
  • Jaggery – ¼ cup
  • Cardamom – 4, crushed

Method

  1. Boil the green gram in about 1 ½ cups of water, for about 20 mins, until it is well-cooked. Add water if the liquid dries up before the gram is cooked. Drain and keep aside.
  2. Meanwhile, mix the wheat flour, rice flour and a pinch of salt. Add hot water slowly while stirring the flour mix with a spoon.
  3. Add a little oil and bring together the mixture into a ball of dough.
  4. Divide the dough into 10 small balls, adding a little oil, to have a smooth dough mix.
  5. In a pan, cook the jaggery on low heat and stir as it melts.
  6. Add the scraped coconut and quickly stir for a couple of minutes, not allowing the coconut-jaggery mixture to burn.
  7. Add the boiled and drained green gram and the crushed cardamom to the coconut-jaggery mixture. Mix and remove from heat. Let the mixture cool.
  8. Roll out each of the ten small balls of dough and spoon 1 tbsp filling in the center of the rolled out dough. Close the dough wrap over the filling in a half-moon shape, by hand or using a pre-fabricated mold shell, or into a round dumpling shape. For the ceremony that marks the arrival of the baby’s first teeth, tiny coconut chips are embedded into the dents pressed by the mold or finger along one half of the half-moon shaped dumpling.
  9. Steam the ‘kolukattai’ (the half-moon shaped) or ‘mothaham’ (the round shaped dumpling) for about 10 mins.

Recipe source: Raji Thillainathan.