Today’s guest blogger is Rushda (lìng yīgè tóngxué). She told me she prefers salads when it came to cooking. So, I asked her to share one of her successful salad recipes.
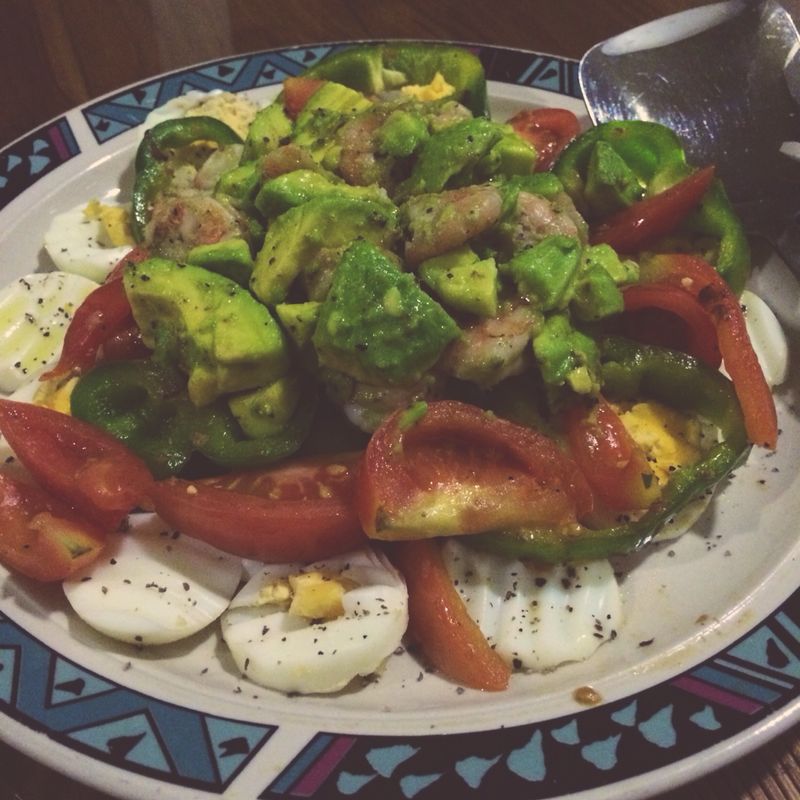
Prawn, Avocado and Egg salad
I like experimenting with cooking and love to take up the challenge in making a dish out of whatever ingredients are available in my fridge when I decide to cook. I would also rather that someone else does the cooking and feeds me than do the cooking myself.
 Time taken: 20 to 30 mins
Serves 2 or 3
Ingredients:
- Boiled eggs – 2 or 3, sliced
- Avocado – 1, cubed
- Prawns or baby shrimps – handful
- Tomatoes – 2 or 3
- Bell peppers – 1 or 2 (different colours are better)
- Lime juice – 1 or 2 tbsp
- Mixed herbs – oregano and rosemary – ½ tsp (optional)
- Black pepper – ½ to 1 tsp, crushed
- Garlic – 2 or 3 cloves, crushed
- Salt, to taste
- Sugar, pinch
- Vinegar – 1 tsp
- Olive oil, as required
Method:
- Make the salad dressing by mixing olive oil, vinegar, pinch of sugar, mixed herbs and finely crushed garlic. Keep aside.
- Heat the cleaned and de-shelled prawns in a non-stick pan on low heat till it is cooked enough. Just sprinkle a bit of lime juice over it while cooking – don’t add water or oil while cooking. After the prawns are cooked and cooled, drizzle a bit of olive oil over it and sprinkle some pepper and salt over them. If salt is used here, it is not required to be used again in the recipe.
- Toast the roughly cut tomatoes in a wok or pan over low heat.
- Meanwhile, slice the boiled eggs, bell peppers and cube the avocado.
- Assemble the ingredients on the salad plate, in an eye-catching way.
- Drizzle the salad dressing over the salad.
Recipe source: Rushda.